
3D characters are integral to the game development process, serving as the primary point of player engagement. Players form emotional bonds with these characters, enhancing their investment in the game. Given their significance, the intricate process of 3D character modeling deserves utmost care and attention to detail.
Creating 3D characters, including humans and others, is indeed labor-intensive. Nonetheless, this effort is rewarded with heightened user engagement. In this overview, we'll delve into the basics of character modeling for games. We'll also illustrate how a 3D modeling company can streamline these tasks.
The art of 3D character modeling involves transforming initial designs into lifelike models, enriching the game art, and influencing the success of game development. By partnering with a proficient 3D modeling company, you can enhance your game's art and the overall development process. Their expertise in 3D character modeling helps bring your vision to life, optimizing game performance and refining your characters.
How Does 3D Character Modeling Work for Modern Game Development?
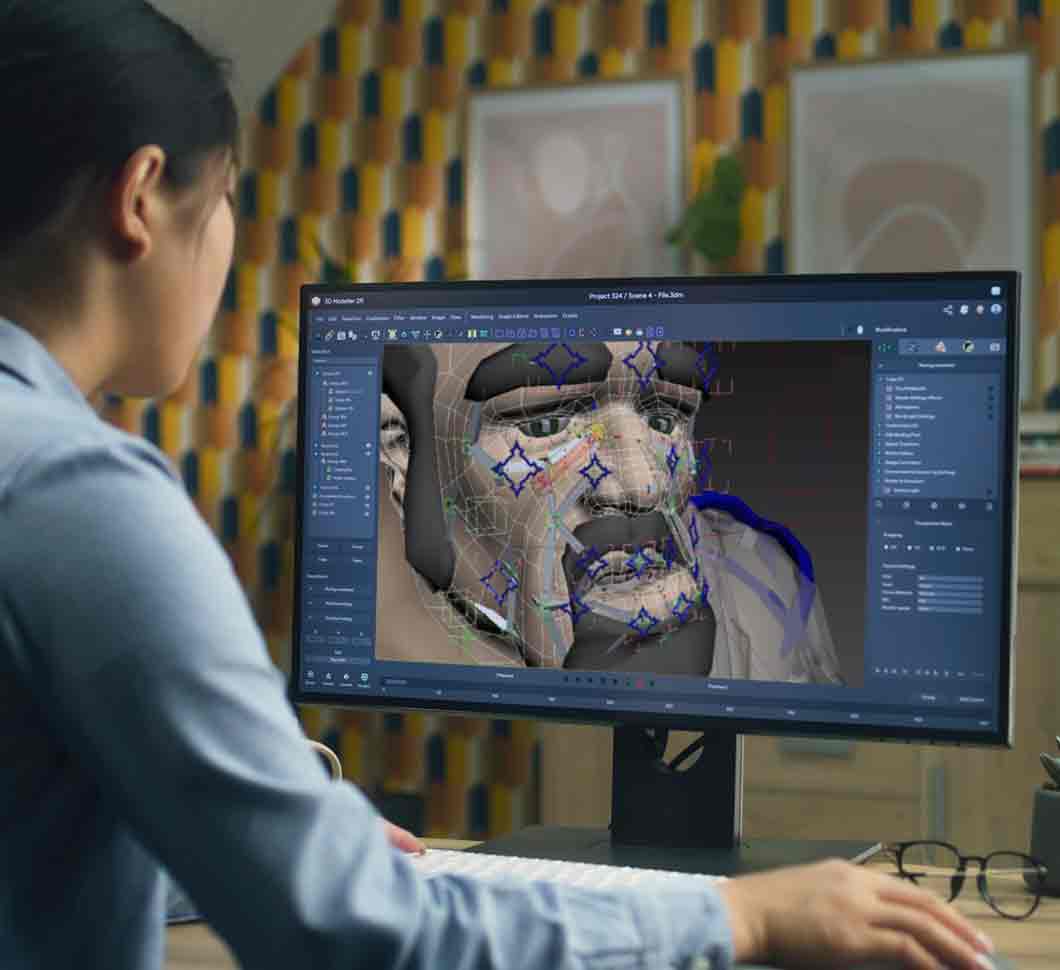
The process of 3D character modeling is a multi-faceted journey that requires the adept application of various software and tools by a skilled 3D artist. This intricate procedure forms the very backbone of game development, breathing life into games and other media forms. Whether it's a human, animal, robot, or mythical creature, each 3D character carries the potential to enhance the gaming experience significantly.
A 3D character can serve different roles within the game framework. Some characters are protagonists, directly controlled by the players, contributing to the game's progression. Others are secondary characters, entities with which the player interacts throughout the game, enriching the narrative. Yet others populate the periphery, adding depth and realism to the game world. Regardless of their role, each character contributes to the overall game art, making every interaction more meaningful and immersive.
The first phase of 3D character modeling typically commences with a seemingly simple task: creating a basic geometric form, such as a cube. This primitive shape forms the core from which the artist crafts the character model. Using a combination of tools and techniques, the artist manipulates and modifies the form, gradually transforming it into a unique 3D character.
Advanced 3D character design is critical in this phase. The artist must consider not only the physical aspects of the character but also its persona, ensuring that the final model aligns with the game's overall narrative. This comprehensive approach to 3D character design elevates the game art, making each character feel authentic and engaging.
The model is then further refined using other software applications. This enables the 3D artist to achieve organic results, even when working with software that might otherwise present limitations. Partnering with a professional 3D modeling company can significantly streamline this process. With their extensive expertise in 3D character modeling and game development, such a company can deliver high-quality models that contribute to an immersive gaming experience.
So, the art of 3D character modeling is an intricate process. From the initial 3D character design phase to the final modeling of characters in 3D, every step requires precision and creativity. By blending these elements, an artist can create engaging game art, enhancing the player's connection with the game. Whether it's the protagonist, a secondary character, or a peripheral entity, every 3D character brings the game world to life, adding depth and realism to the gaming experience.
3D Character Styles
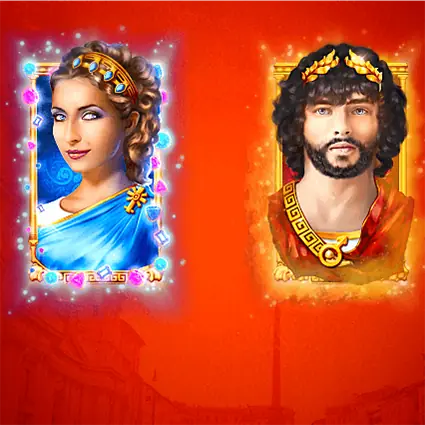
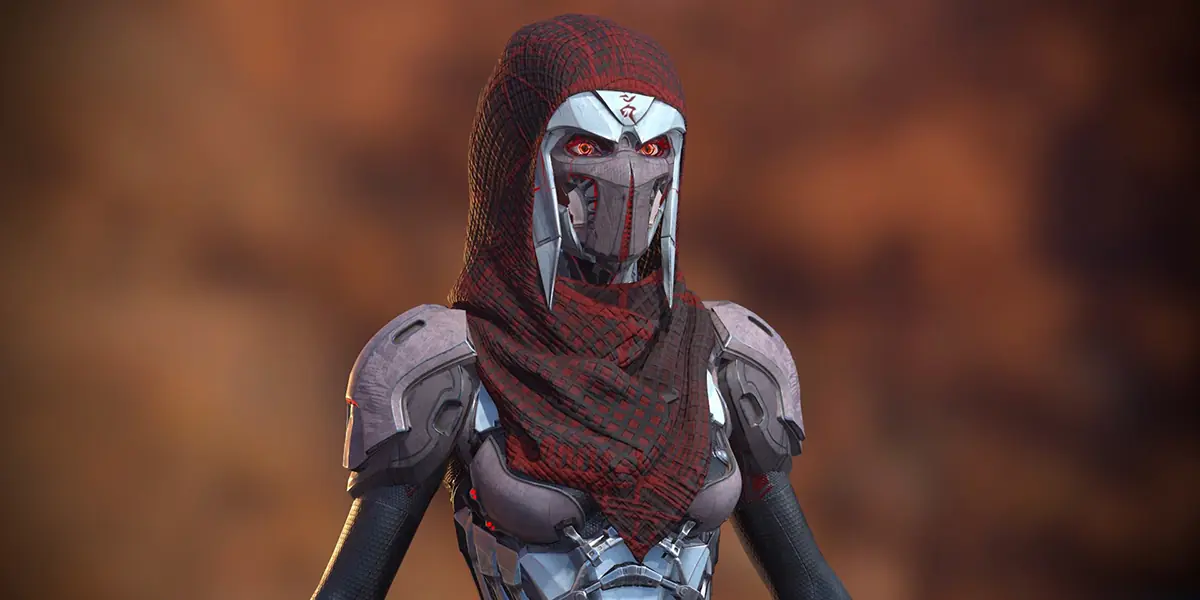
In game development, 3D character modeling takes center stage, with skilled specialists meticulously crafting 3D human models that serve as both primary and secondary characters. The style of these characters is contingent on the game's setting and objectives, adding depth to the game art and shaping the overall game experience.
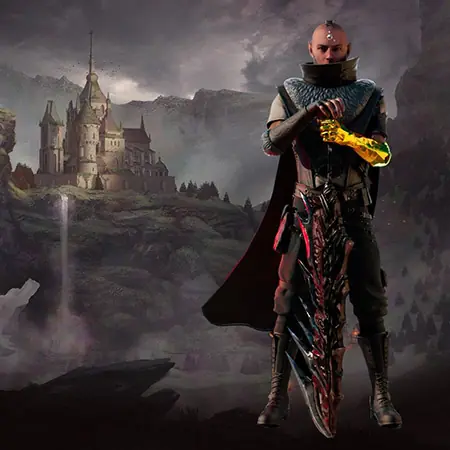
These characters' visual style and design are highly dependent on the specific setting of the game and the objectives that the game's developers have set out to achieve. For instance, a historical game set in the Middle Ages might require characters with period-specific attire and physical features, while a futuristic sci-fi game may demand characters with technologically advanced equipment and possibly even non-human physical characteristics. The character design immerses the player in the game's setting and plays a vital role in communicating the game's story, objectives, and overall feel to the player.
3D character modeling in game development. The skilled process in which experts craft both primary and secondary 3D human models. This critical element shapes the overall aesthetic of the game art and significantly impacts the player's experience.
The impact of 3D character modeling. Each stage in the design and modeling process significantly impacts the game's visual language. With creativity, technical skills, and industry knowledge, 3D character modeling can boost game art and offer a captivating gaming experience.
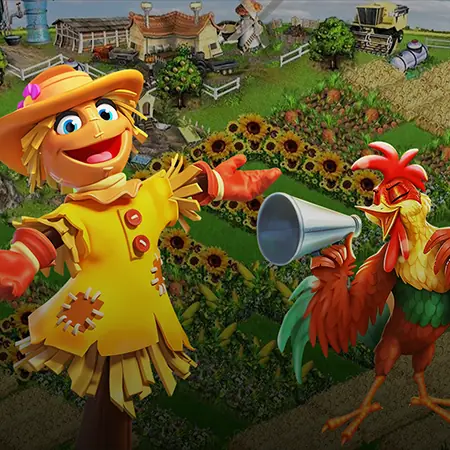
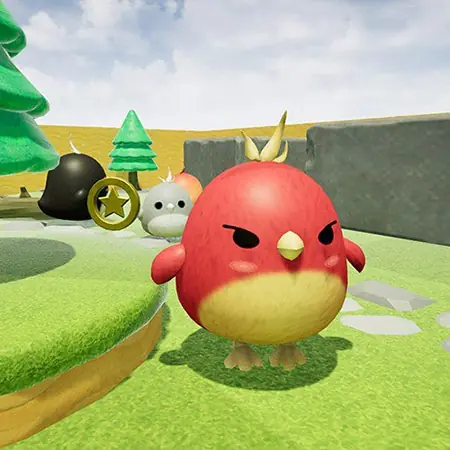
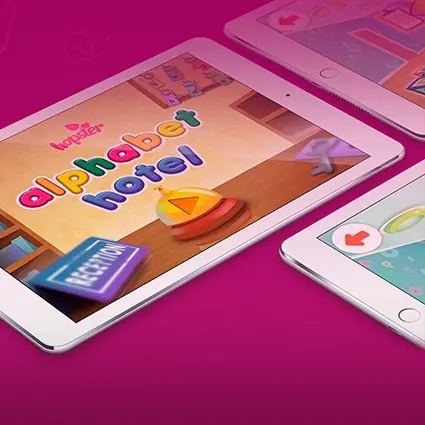
Cartoonish 3D character design. This style mimics traditional cartoons, offering a light-hearted, playful approach to 3D character modeling. This style is prevalent in games targeting younger audiences or games aiming to create a casual, fun environment.
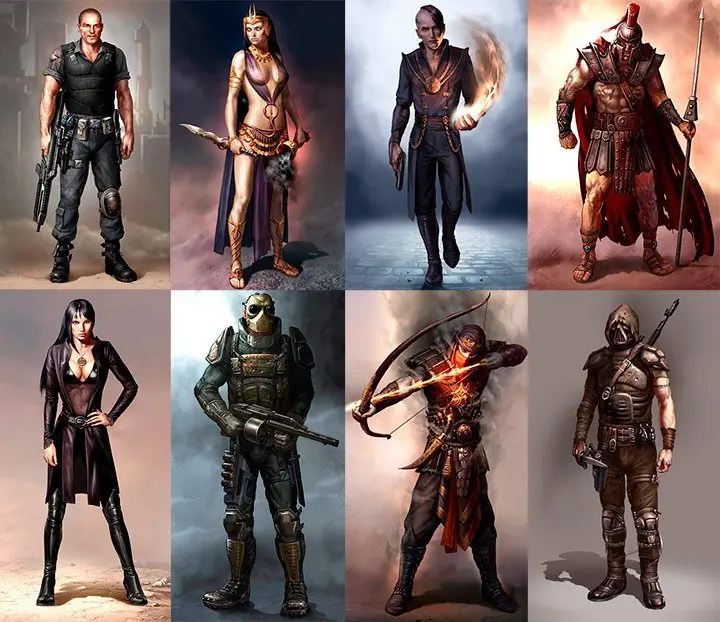
Diverse character styles. Depending on the game's setting and objectives, specialists determine the style of the characters. The five main styles often utilized are creative, life-like, cartoonish, abstract, and blocky.
Collaboration with a 3D modeling company. Engagement with professional 3D modeling companies can significantly enhance the design and modeling process. Their vast expertise in 3D character design and modeling can bring vibrant, engaging 3D characters to life, improving game art and the overall game development process.
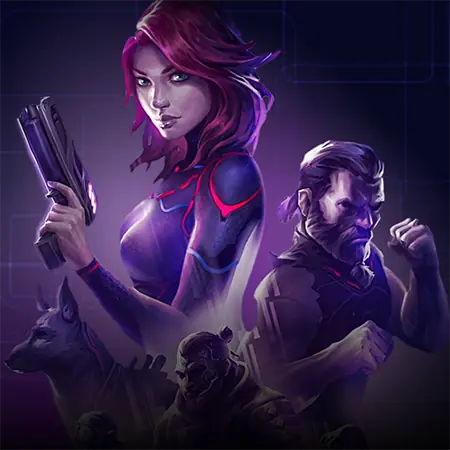
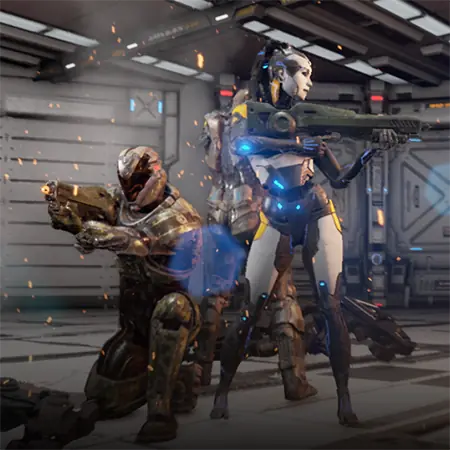
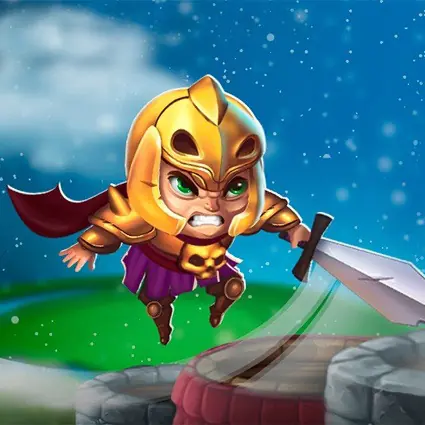
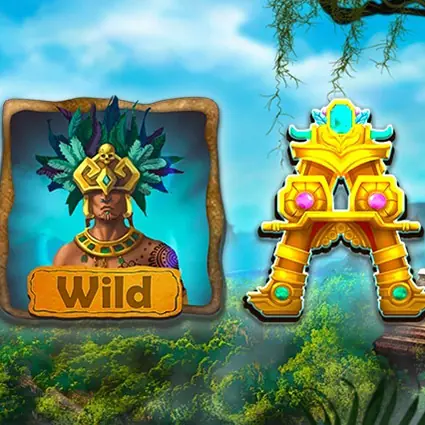
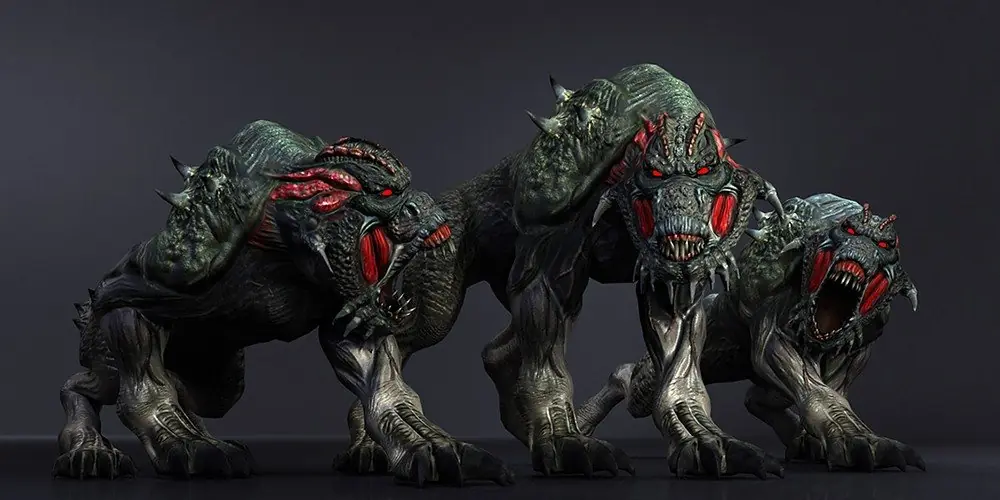
Creative 3D character design. This style is characterized by unconventional design. Specialists may design a character to be an alien with human-like features or a hybrid of human and animal attributes. Such unique 3D character modeling amplifies the game art and introduces an unexpected twist to the gaming experience.
In essence, 3D character modeling is an exercise in creativity and technical mastery. From creating imaginative, non-standard characters to designing cartoonish, lively figures, each step in the design and modeling process influences the game's visual language. With the right blend of creativity, skill, and expertise, 3D characters can significantly enhance game art and provide players with a captivating gaming experience.
Which Character Modeling Type is Best?
There are two main ways to 3D model a person or other character type: spline and polygon 3D modeling. But which method is more suitable for modeling game 3D characters? You can find the answer to this question below.
Polygon 3D Modeling
This technique involves creating 3D character models using interconnected polygonal shapes, also known as 'polys'. When these polys join together, they form a mesh, giving the impression of a complex 3D puzzle. The artist has the ability to independently modify and edit each poly, making it possible to add detail and texture to the 3D character model. This flexibility in modeling also extends to the animation process, making polygonal modeling an often-preferred method for 3D character design and game assets creation.
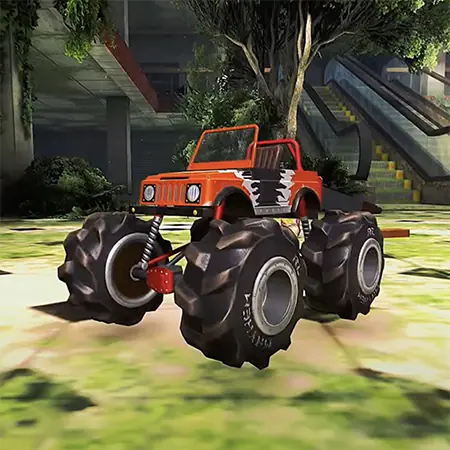
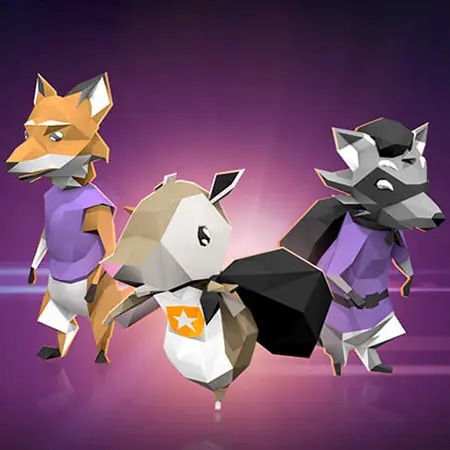
One notable feature of polygonal 3D modeling is its ability to accommodate either high poly or low poly methods. High poly modeling employs a large number of polygons to provide detailed and realistic 3D characters, often used for elements close to the game camera. In contrast, low poly modeling uses fewer polygons to create more basic, less detailed 3D models. These are typically utilized for elements positioned further from the game camera.
NURBS 3D Modeling
An alternative to polygonal modeling is Non-Uniform Rational Basis Spline (NURBS), more commonly referred to as spline modeling. Instead of using polygonal shapes, this method employs a multitude of flexible curves and the points connecting them to create the 3D character model. The outcome is generally a much smoother model that can greatly enhance game art quality.
However, spline modeling presents its own set of challenges. Since the model parameters are calculated using mathematical formulas, modifying individual parts of the model without disrupting the overall structure can be quite difficult. This complexity often relegates NURBS to a less popular choice for game models and character creation.
Thus, partnering with a professional 3D modeling company can dramatically enhance the process of 3D character modeling. Whether working with high poly, low poly, or NURBS methods, these companies possess the technical expertise and industry knowledge to bring 3D character designs to life, substantially enhancing the game art and enriching the game development process. Through their work, captivating 3D characters and game models are brought into existence, ultimately leading to a more engaging gaming experience.

How to 3D Model a Character: A Step-By-Step Guide
Embarking on a project necessitates comprehensive planning, especially in game development, where the stakes are high and intricate processes such as 3D character modeling come into play. It's imperative to fully understand the workflow and steps involved in 3D character design to fully comprehend the breadth and depth of the process fully. It's not merely about creating a model; it's about bringing a 3D character to life, imbuing it with personality and traits that resonate with gamers.
Firstly, it's crucial to understand the significance of 3D character modeling in game development. This process is central to shaping the visual aspects of the game, contributing significantly to the overall game art. Whether it's the main protagonist or side characters, 3D modeling characters add depth, dimension, and dynamism to the gaming environment. In essence, the appeal of a game often hinges on the quality of its 3D characters.
As we delve into the 3D character modeling process, a partnership with a professional 3D modeling company can often streamline the endeavor. With their technical expertise and industry experience, they can provide the guidance and resources necessary to craft a compelling 3D character design. Moreover, they can facilitate the intricacies of 3D modeling and animation, ensuring that each character aligns with the game's aesthetic and narrative.
So, how does one create a 3D character model? Below, we offer a comprehensive yet beginner-friendly guide detailing the vital steps in 3D character modeling. This exploration goes beyond merely understanding the process; it's about appreciating the artistry behind each 3D character and recognizing its impact on game art and game development.
3D Character Concept
Initiating the game development journey is incomplete without the intricate process of 3D character modeling. As a key player in enhancing game art, a 3D character design injects life and dynamism into the gaming universe.
In the first stage, prior to the actual creation of a 3D character, it is essential to conceptualize their narrative. This includes defining their history, personality traits, appearance, and how these elements will be conveyed in the game. Collect a wide range of references that align with your vision for the character, aiding you in the creation process.
The depth of the character's backstory plays a crucial role in the engagement and enjoyment of the game. Having a comprehensive understanding of your 3D character's uniqueness enriches the modeling process, contributing significantly to the game's artistry.
This character development process is further elevated when collaborating with a professional 3D modeling company. Their expert guidance in 3D character modeling ensures that your envisioned character is brought to life effectively, adding a layer of authenticity and refinement to the game's narrative and aesthetics.
In a nutshell, 3D character modeling is pivotal in game development. The act of creating a 3D character involves a careful blend of creativity, storytelling, and technical modeling skills, contributing profoundly to the overall gaming experience.
3D Character Blocking
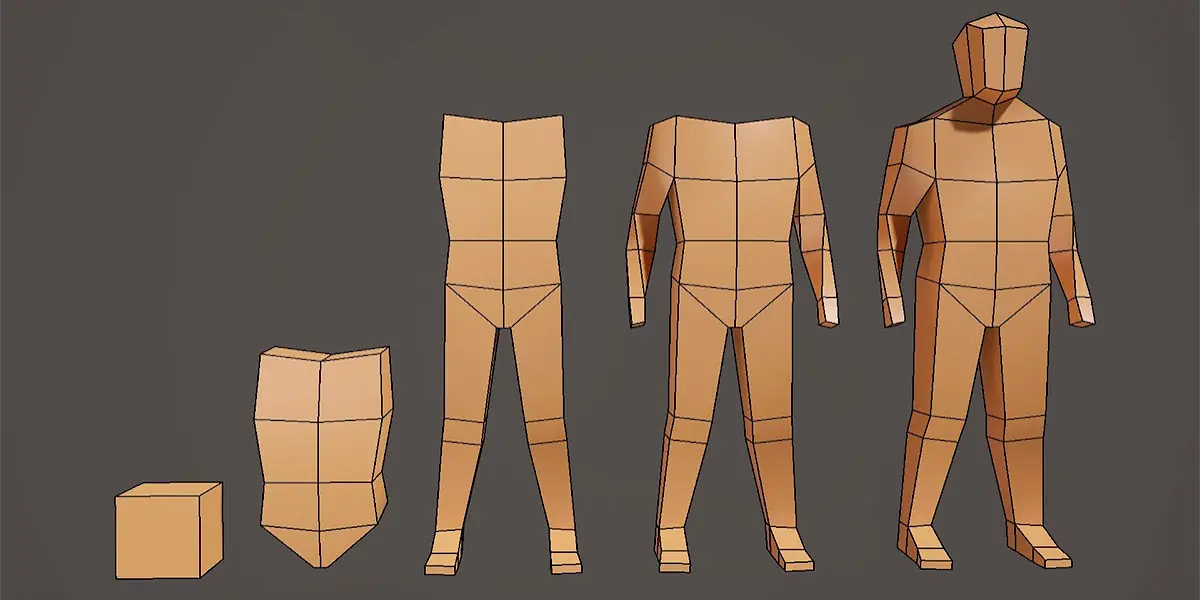
The initial phase of 3D character modeling, a pivotal step in game development, involves constructing the basic structure of your 3D character. This can be achieved by integrating fundamental shapes like cubes or cylinders, facilitating the formation of distinct elements for your character model.
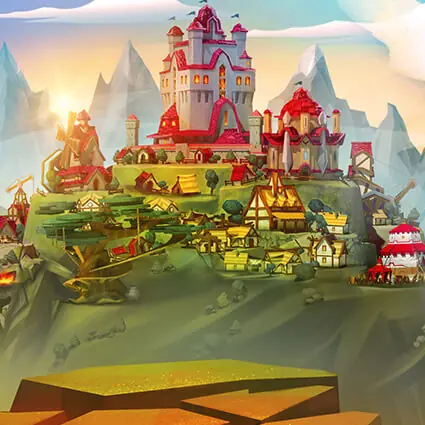
This methodology serves as a visual roadmap, granting a preliminary glimpse into the 3D character's appearance. In essence, you're sketching a character silhouette that encapsulates the core attributes of your character's design. This initial modeling strategy streamlines the creative process, enriching the game art and bolstering the gaming experience.
Teaming up with a professional 3D modeling company can elevate this process further. Their proficiency in 3D character modeling and design can bridge the gap between a concept and a fully-realized character, enriching your game's narrative and aesthetic appeal.
As a matter of fact, creating a 3D character model using basic shapes is a key initial step in game development. It's an effective technique that lays the groundwork for further refinement, eventually leading to a vibrant, compelling character within the game's artistry.
3D Character Sculpting
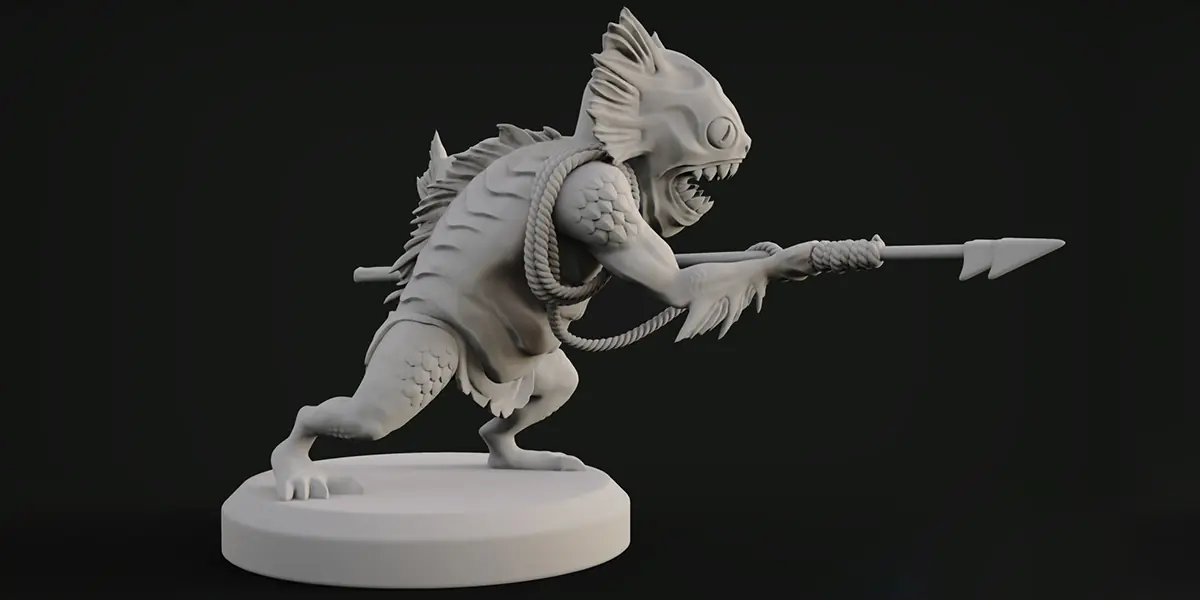
At the onset of 3D character modeling, you are presented with a featureless, smooth model. Much like a sculptor faced with a block of clay, it's the task of the 3D artist to chisel this blank canvas into a vivid 3D character, shaping the game's narrative and adding depth to the game art.
This part of the 3D character design process draws parallels to clay sculpting. A sphere is meticulously crafted into the character's eyes while defining structures like cheekbones and chins emerge from the model. Similarly, a long cylinder evolves into a lifelike finger. Material can be judiciously added or removed, fine-tuning the character to align with the artistic vision.
Fundamentally, 3D modeling characters represents the cornerstone of game development, establishing the visual foundation that drives player engagement. Collaborating with a dedicated 3D modeling company can streamline this process, ensuring the 3D characters resonate with the game's thematic elements while delivering a visually engaging gaming experience.
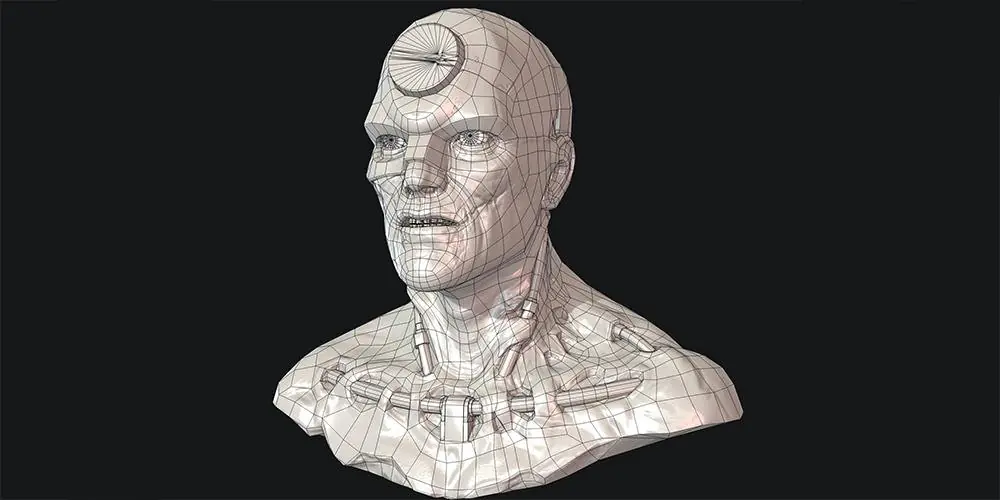
Creating 3D Character Topology
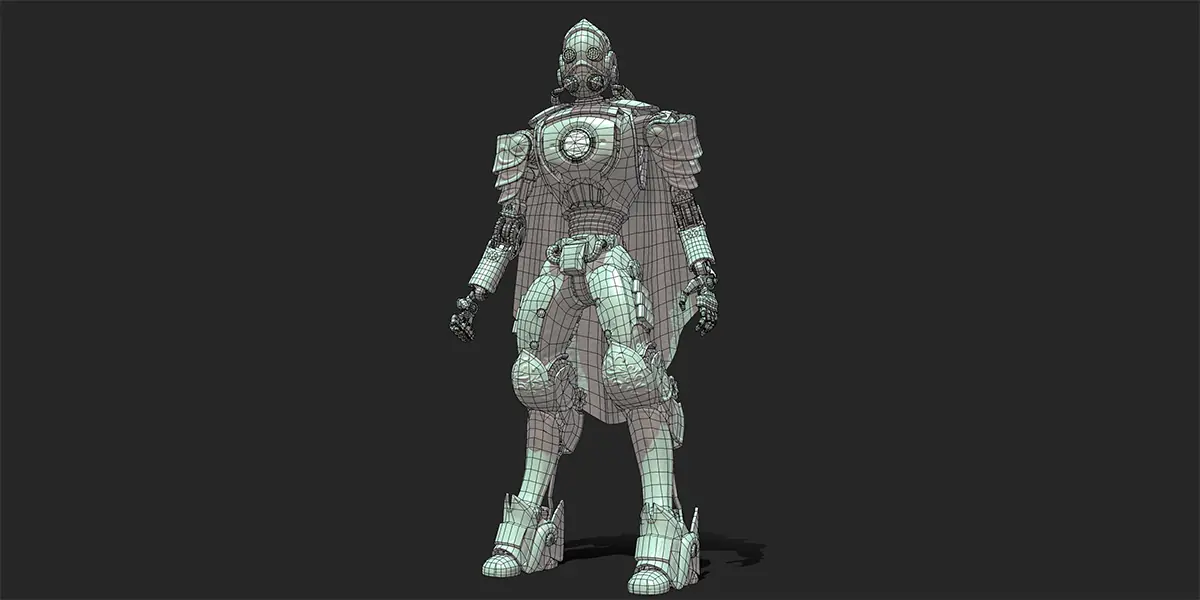
In 3D character modeling, the term 'topology' refers to the intricate surface structure that grants visual richness to a model. Imagine a character's face; the detailed eyes, the expressive mouth, the nuanced features — all are the results of meticulously crafted topology. Beyond that, the proper execution of topology is a must for animating individual components of the model, making it a vital aspect of 3D character design.
Creating the topology of a 3D character generally involves the use of polygonal modeling. Polygons, with their ability to have multiple corners, offer the flexibility to manipulate and animate separate parts of a figure easily. This makes them an invaluable tool in the realm of 3D modeling characters.
At a reputable 3D modeling company, game development specialists strongly emphasize optimizing topology. This is to ensure that each 3D character doesn't just look good but also moves fluidly within the game art, contributing to a visually cohesive gaming experience. Indeed, an expertly executed topology breathes life into game art, driving the narrative and ensuring an immersive player experience.
3D Character Model Rigging and Skinning
At the heart of 3D character modeling lies the essential process known as rigging. This stage calls for the construction of the 3D character's skeleton, a vital step that enables future animation of individual bones, thereby granting motion to the 3D model. Most 3D modeling companies and game development professionals employ specialized software that offers pre-made skeleton samples, streamlining the creation of game characters and other game art assets.
Following the rigging process, the stage of skinning begins. Predominantly utilized for bipedal characters, skinning constitutes the union of the skeleton and the model's surface. In simple terms, the skeleton, at this stage, integrates into the character, enabling it to move. Skinning underscores an essential aspect of 3D character design - the realization that animating the surface of a model is an impractical approach. Hence, the skeleton becomes the fulcrum of movement in 3D modeling characters.
Both these processes are indispensable to game development, shaping the 3D characters that form the heart of any game. They represent the synergy of art and technology, breathing life into static models as well as transforming them into dynamic game art characters that enhance the overall gaming experience. An adept 3D modeling company recognizes the significance of these stages and meticulously performs them to ensure the creation of a captivating, lifelike 3D character.
3D Character Rendering
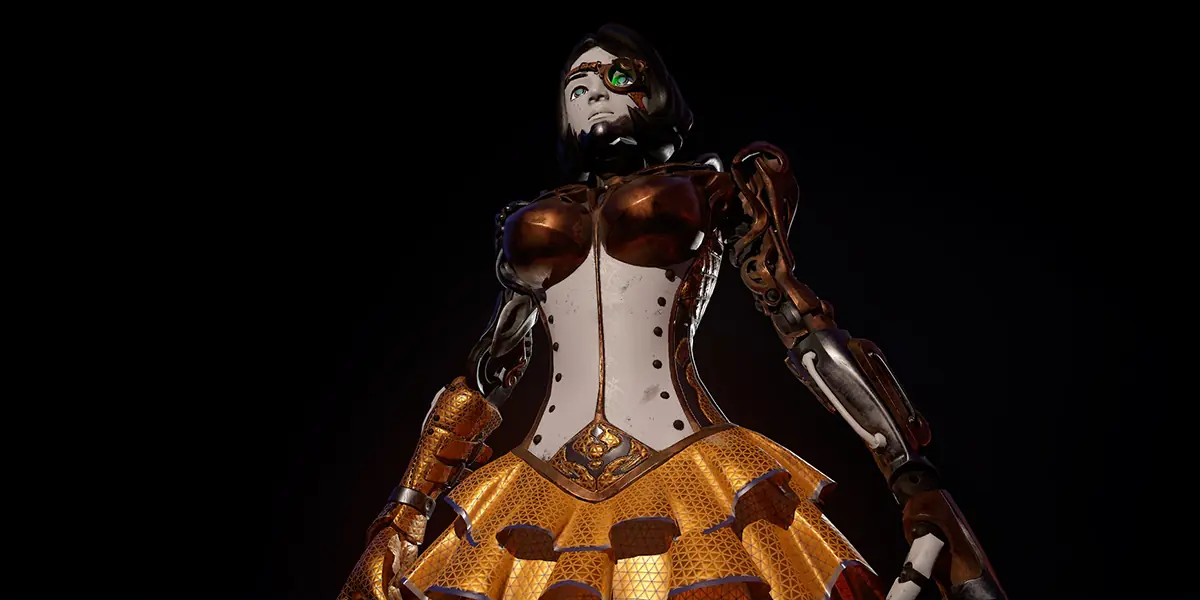
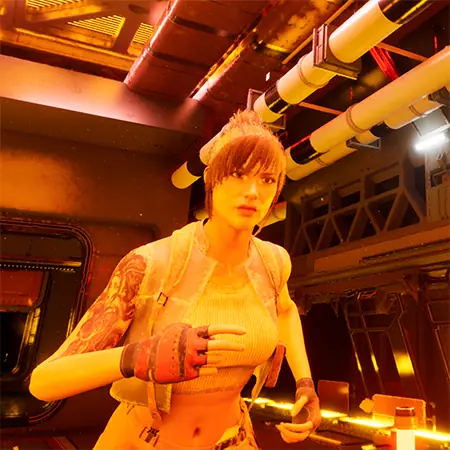
3D rendering marks a pivotal stage in the 3D character modeling pipeline, one where a 3D model is transformed into a vivid 2D image. In this complex process, artists employ advanced computer graphics to meticulously design a scene that encapsulates the essence of the 3D character. Essential aspects such as the image's lighting, the camera's direction, and the texture of the frame are fine-tuned, giving life to the static model.
Crafted with a keen eye for detail, the 3D character design takes on a vibrant new dimension in this process. The result is an aesthetically pleasing image that not only showcases the finesse of the 3D modeling characters but also reflects the essence of the game art.
Often, this rendered image serves a crucial role beyond the game development process. It transitions into a powerful promotional tool, capturing the attention of potential gamers. A quality 3D modeling company understands the value of these images, leveraging them for advertising and promotional campaigns, thereby generating interest and excitement for the game.
Rendering, therefore, is an integral part of 3D character modeling. It amplifies the impact of the 3D character, making them stand out in the game art landscape. When performed with precision and creativity, rendering can dramatically enhance the visual appeal of a game, contributing significantly to its success.
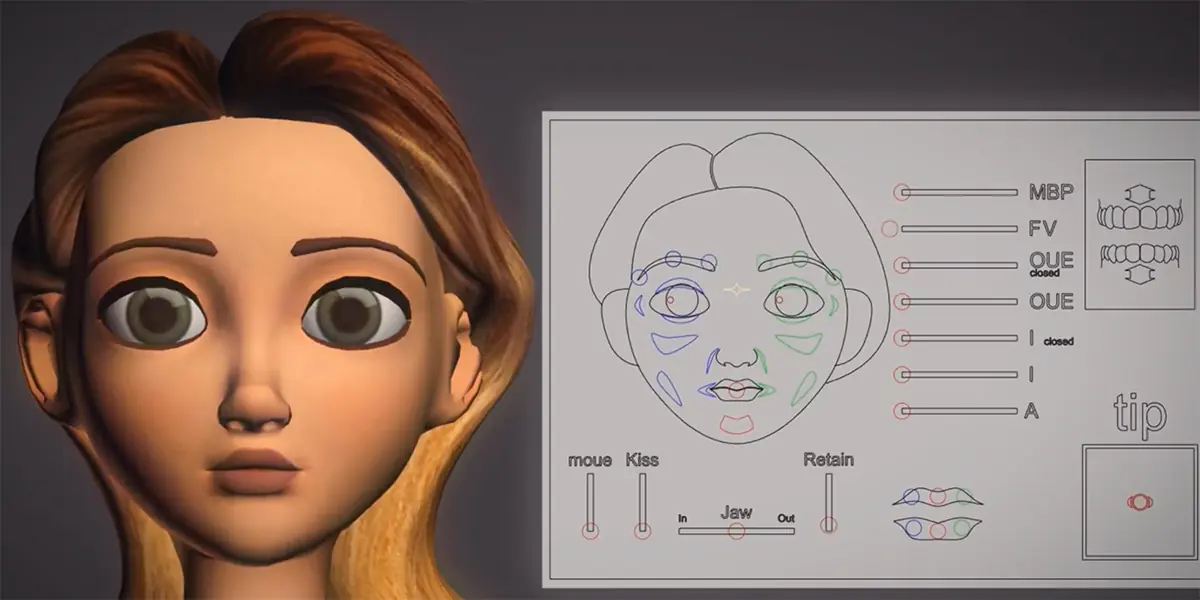
3D Character Animation
Animation of the 3D character model signifies the crucial culmination of the 3D character modeling process. This stage involves the vital task of infusing vitality and dynamic movement into the previously static 3D character. Renowned 3D modeling companies and game development studios pay special attention to this stage as it plays a significant role in the overall game art.
The process of model animation primarily involves articulating the character's body movements and crafting expressive facial nuances. This complex process makes the game's 3D characters feel real and relatable. Specialized tools are often employed to manipulate individual body parts, refining gestures and movements to align with the 3D character design.
Using video references is a common practice within 3D character modeling, allowing artists to animate the character with realistic movements and expressions. This technique enhances the overall realism of the 3D character, contributing to the game's immersive experience.
In addition, large game development studios frequently adopt motion capture techniques. This advanced process involves game actors mimicking the intended facial expressions and body movements in front of a camera. The captured movements are then transferred digitally to the computer model, further enhancing the authenticity of the 3D character's actions.
Please note: In case you are going to model a character for the NFT game, this process will be slightly different from character modeling for traditional games. NFT game characters should be developed on a blockchain base so that gamers can immutably own them. This type of development is better to entrust to a professional NFT game development company in order to get an error-free NFT game character.
Want to know about 3D modeling software we use for character design?
Make Your Game Shine with Expert 3D Character Artists
In the complex world of 3D game development, even the most proficient entities may find it challenging to manage every task single-handedly, especially during crunch periods. This is where we, at Game-Ace, step in to not only provide high-quality 3D content but also to foster a reliable and supportive partnership.
When you choose to delegate your 3D character modeling and other critical game development tasks to us, you opt for speed, quality, and unmatched professionalism. Our experienced team can navigate the nuances of 3D character design, producing compelling 3D characters that elevate your game art and contribute significantly to the overall gaming experience.
Moreover, our services extend beyond 3D modeling characters. Whether it's game design, quality assurance, or any other aspect of game development, we have the expertise and the commitment to deliver excellence consistently.
So, if you are on the lookout for a 3D modeling company that offers more than just services – a partnership that understands and shares your passion for game development – then let's connect. We are eager to discuss the finer details of your project and embark on this exciting journey together.
 Character skinning for game-ready 3D animation
 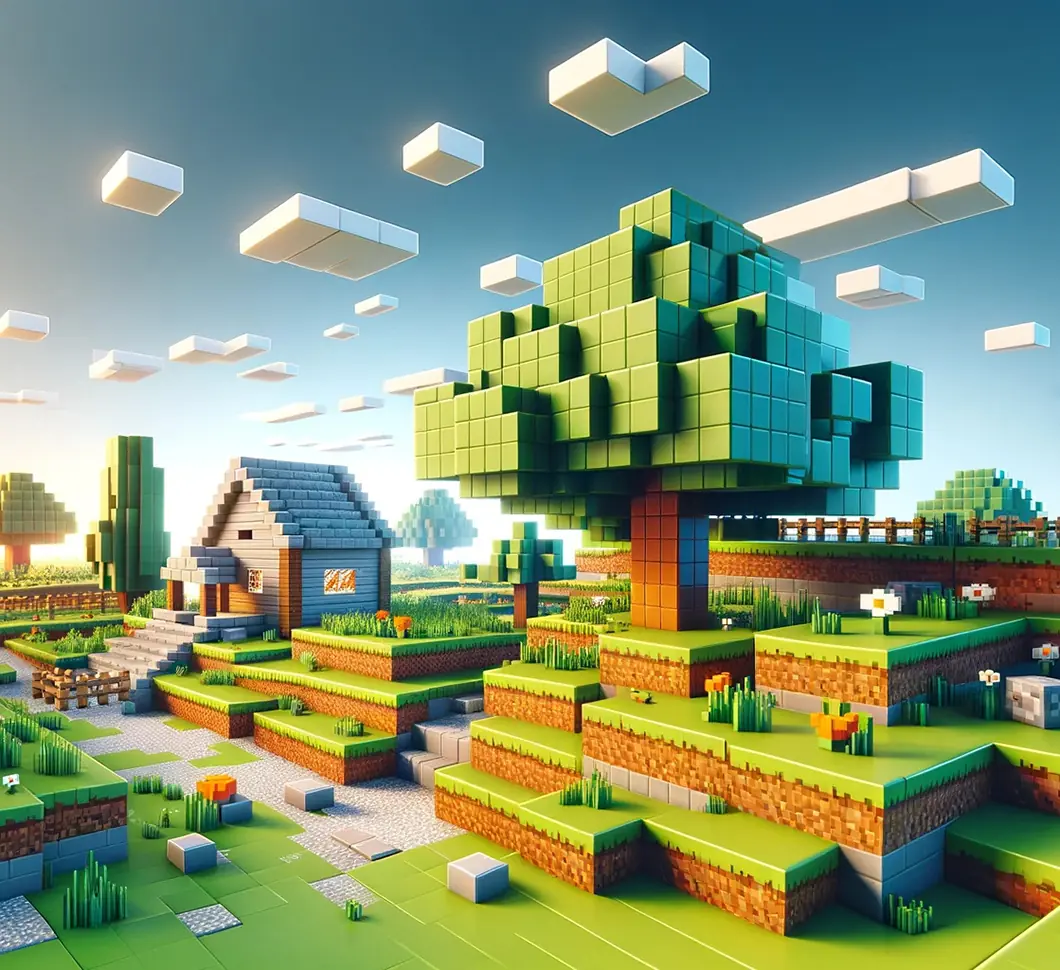 The Best Ways to Use Procedural Generation in Games
 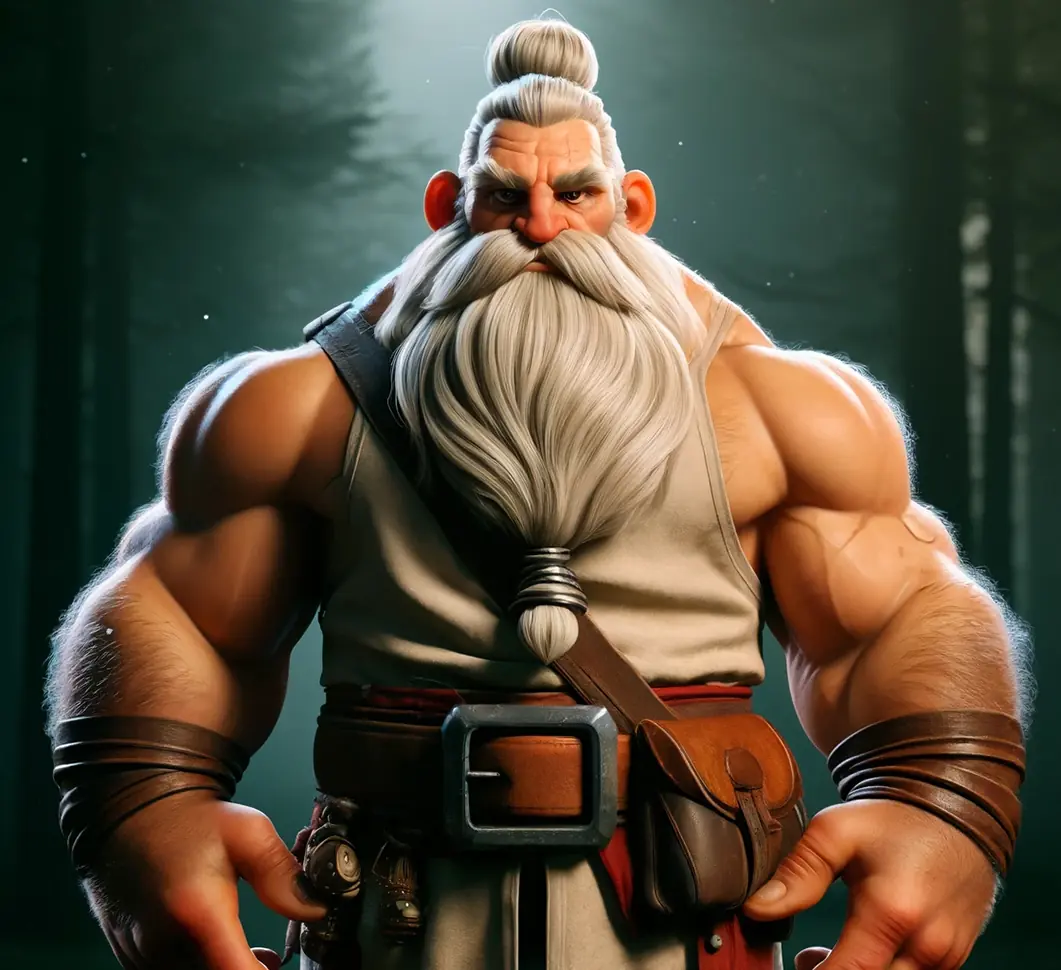 3D Modeling as the Cornerstone of Your Video Game