
Unity is a real-time game engine, not a 3D modeling tool. Production 3D models for Unity are built in external software such as Blender, 3ds Max, or Maya, then exported as .fbx or .obj files and imported into the Unity project. Inside Unity, ProBuilder lets you block out simple geometry and prototype levels without leaving the editor, but full 3D modeling happens in dedicated software. This guide covers the workflow end to end: which tools to use, how the pipeline runs, what file formats Unity accepts, and how to import and optimize 3D assets.
Can you do 3D modeling inside Unity?
Partially. Unity includes ProBuilder as a built-in package that lets you create and edit simple geometry directly in the editor. ProBuilder is well suited to:
- Blocking out levels and prototyping spatial layouts before art production.
- Building simple modular geometry (walls, platforms, ramps, basic props).
- Greyboxing a scene to test gameplay before art is committed.
ProBuilder is not built for organic shapes, high-polygon detail, character modeling, or production-quality art. For everything beyond blocking out, the modeling work happens in external DCC (digital content creation) software, and the asset is exported to Unity.
Best 3D modeling software for Unity
Four tools cover the majority of Unity 3D modeling work. The right choice depends on your asset type, budget, and existing pipeline.
| Software | License | Best for | Unity integration |
| Blender | Free, open source | Modeling, sculpting, rigging, animation - covers the full asset pipeline in one tool | Unity reads .blend files directly; export to .fbx is one-click |
| 3ds Max | Paid subscription (Autodesk) | Polygon modeling, environment art, architectural visualization | FBX export is industry standard for game pipelines |
| Maya / Maya Indie | Paid subscription (Autodesk; Indie tier for solo and small studios) | Character modeling, rigging, animation, film and game cinematics | FBX export is the standard handoff to Unity |
| ZBrush | Paid (Maxon) | High-polygon sculpting, organic characters and creatures, surface detail | Sculpt high-poly, retopo to game-ready, bake normal maps for Unity |
Blender is the default recommendation when starting out: it is free, has every stage of the pipeline (modeling, UV, rigging, animation, texturing), and exports cleanly to Unity. Maya and 3ds Max are common in studios where a particular pipeline or animation toolset is already established. ZBrush is paired with another tool, not used alone: you sculpt the high-poly mesh in ZBrush, retopologize to a low-poly game-ready mesh, then finish in Blender or Maya before exporting to Unity.
The 3D modeling workflow for Unity, step by step
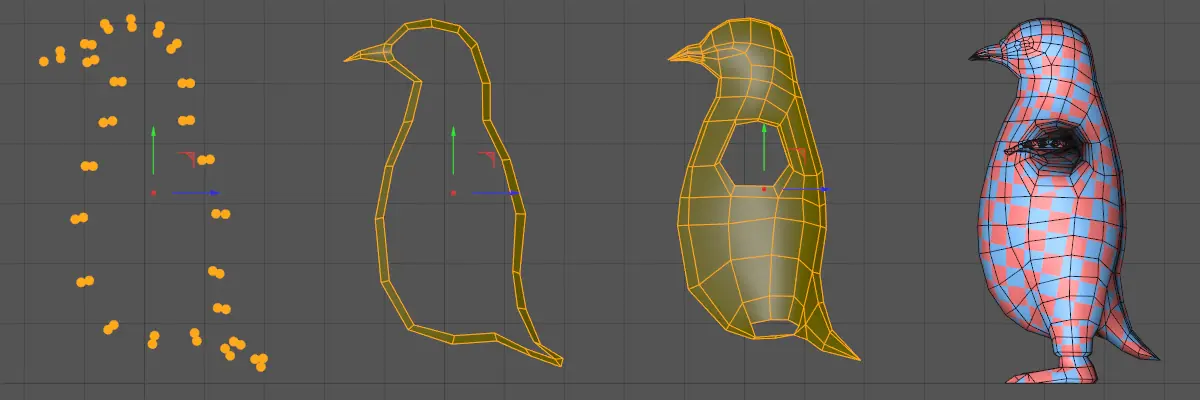
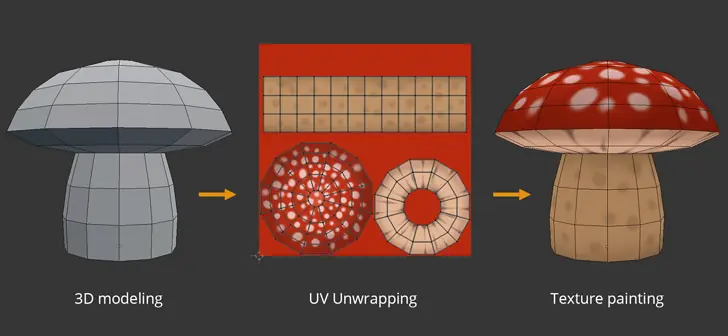
A production-ready 3D model for Unity goes through the following stages:
- Reference and concept. Gather references and lock the silhouette and proportions before modeling. For characters, a concept sheet with front, side, and three-quarter views avoids rework.
- Block out. Build a low-detail proxy that nails the proportions, scale, and spatial reads. In Unity, ProBuilder can do this for environment blocking; characters and props are blocked out in the external tool.
- High-poly modeling or sculpting. For organic shapes, sculpt in ZBrush or Blender's sculpt mode. For hard-surface props and environments, build the high-poly with subdivision or boolean operations in Blender, Maya, or 3ds Max.
- Retopology. Build a clean low-polygon mesh that the engine will run. This step controls polygon budget, edge flow for deformation, and silhouette quality.
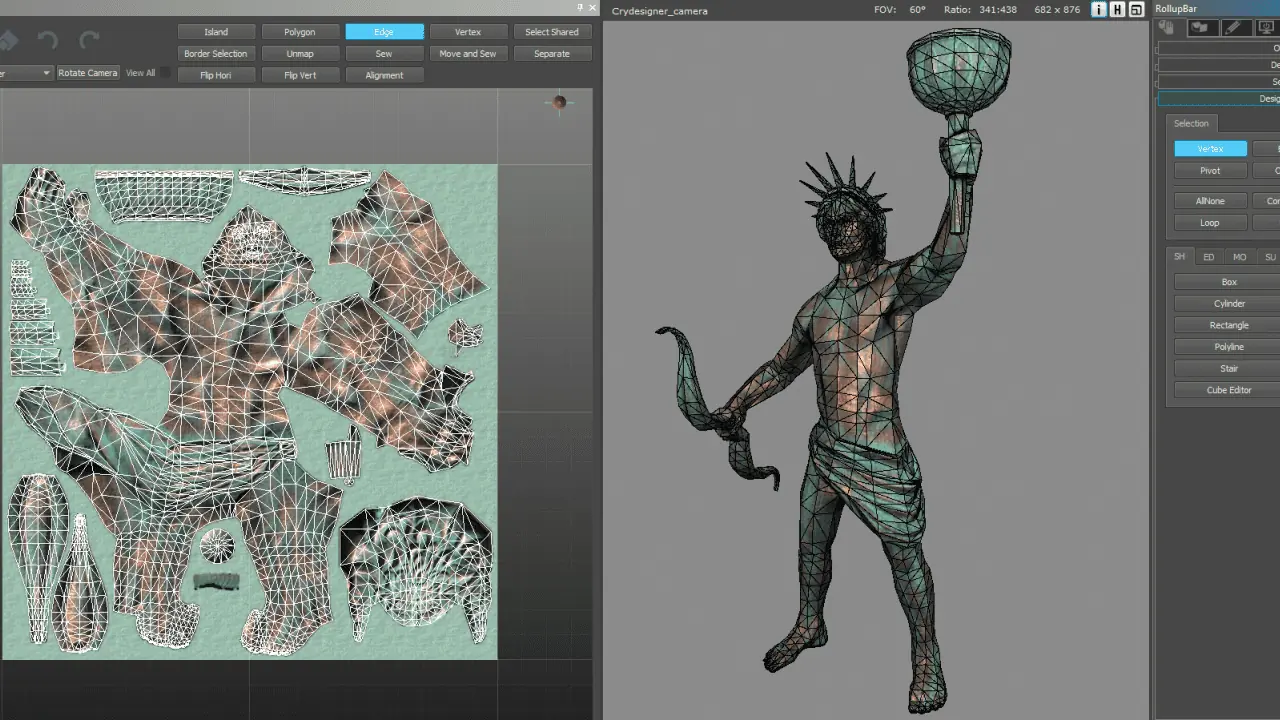
- UV unwrapping. Lay out the model's surface in 2D so textures map predictably. Keep texel density consistent across the asset and pack the UV islands efficiently to save texture memory.
- Baking. Transfer high-poly detail to the low-poly mesh through normal maps, ambient occlusion maps, and curvature maps. Bake in your DCC tool or in Substance Painter / Marmoset Toolbag.
- Texturing. Paint or generate PBR (physically based rendering) textures: base colour (albedo), metallic, roughness, normal, and ambient occlusion. Substance Painter is the standard. Quixel Mixer and Blender's own material tools are alternatives.
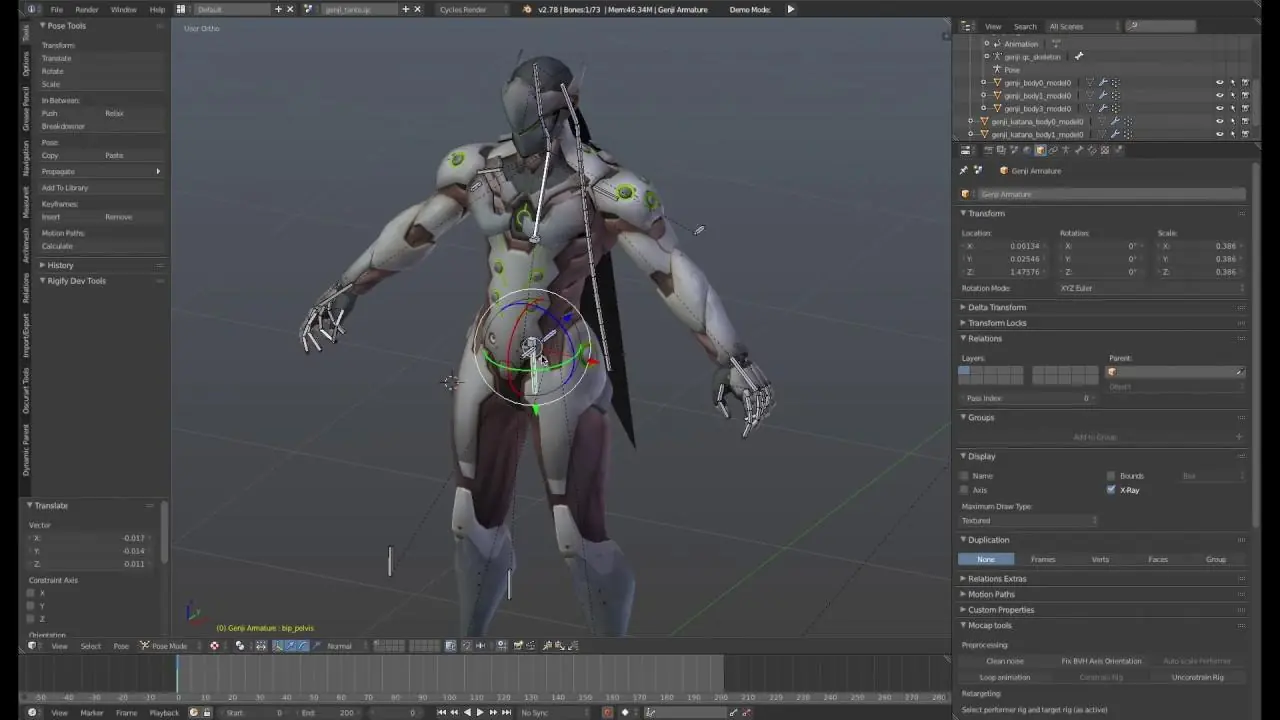
- Rigging and skinning (for characters and animated props). Build a skeleton, bind the mesh, and paint weight maps for deformation.
- Export to .fbx. Apply transforms, freeze scale to 1, triangulate if your pipeline requires it, and export with the correct axis orientation for Unity (Y-up).
- Import into Unity. Drag the file into the Assets folder and configure the import settings.
File formats Unity supports for 3D models
Unity reads several 3D file formats. .fbx is the safest default for production.
| Format | Use case | Notes |
| .fbx | Default recommendation for production assets | Carries geometry, materials, animation, blend shapes. Industry standard for game pipelines. |
| .obj | Simple static geometry, props without animation | Geometry plus materials only; no animation, no rig, no blend shapes. |
| .blend | Direct import from Blender | Unity auto-converts .blend files via Blender's FBX exporter; Blender must be installed on the machine. |
| .dae (Collada) | Open standard, occasional handoff format | Less common in modern pipelines; .fbx is preferred. |
| .3ds | Legacy 3ds Max format | Older format; .fbx export from 3ds Max is the current standard. |
| .stl | 3D printing meshes | Geometry only, no UVs or materials. Acceptable for low-detail static props. |
| .skp | SketchUp models | Useful for architectural visualization scenes. |
How to import a 3D model into Unity
The import process has three parts: prepare the file in the modeling tool, drop it into the Unity project, and configure import settings.
In your modeling tool, before exporting:
- Apply or freeze all transforms so the model exports at scale 1 with zero rotation.
- Set the orientation to match Unity (Y-up, Z-forward).
- Use real-world scale (Unity treats 1 unit as 1 metre).
- Triangulate the mesh if your pipeline asks for triangulated geometry on export.
- Pack UVs, name the materials, and check the pivot point.
Then drop the .fbx (or .obj, .blend, etc.) into the Unity Assets folder. Unity imports automatically. Select the imported asset in the Project window and configure the Inspector:
- Model tab: Scale Factor, Mesh Compression, Read/Write Enabled, Normals (Import or Calculate), Blend Shapes if relevant.
- Rig tab: animation type (None, Legacy, Generic, or Humanoid), root motion source.
- Animation tab: animation clips, loop time, root transform settings.
- Materials tab: extract embedded materials, point them at PBR shaders for your active render pipeline.
Drag the configured asset into the scene. If textures look wrong, the most common cause is the material is using a shader that does not match your render pipeline.
Asset optimization for Unity: polygon budgets, LODs, PBR
3D models for games must be optimized for the target platform. Three controls do most of the work.
Polygon budget. Polygon counts vary widely by platform and asset role. A character that the camera will be close to needs more detail than a background prop. As a rough orientation:
- Mobile: hero characters often 5,000–15,000 triangles; environment props 200–2,000 triangles.
- PC and console: hero characters often 20,000–80,000 triangles; props scale with importance.
- VR: keep poly counts conservative because the engine renders the scene twice.
These are starting points, not rules. Always profile in your actual scene. Final budgets should be validated against the target scene, device class, camera distance, and expected frame rate before asset creation.
LODs (Level of Detail). Unity's LOD Group component swaps lower-detail meshes as the camera moves further away, which saves frame time. A typical setup has three LODs: LOD0 (full detail, close-up), LOD1 (around 50% of LOD0 polys), LOD2 (around 25%). Build LODs in your DCC tool and assign them to the LOD Group in Unity.
PBR materials. Unity's Standard and URP/HDRP Lit shaders use PBR. Author textures in Substance Painter or an equivalent tool with the PBR metallic-roughness workflow: base colour (albedo), metallic map, roughness map, normal map, ambient occlusion, and optionally height for parallax. Make sure the texture set matches the active render pipeline.
3D modeling for different Unity render pipelines
Unity ships with three render pipelines, and material handoff is slightly different in each.
1.Built-in Render Pipeline: the legacy default. Uses the Standard shader. Simplest to set up, but limited in modern features.
2.URP (Universal Render Pipeline): the modern default for mobile, web, and most cross-platform games. Lighter than HDRP, runs broadly. Use URP Lit shader.
3.HDRP (High Definition Render Pipeline): for desktop and console projects that need high visual fidelity. Heavier, more feature-rich. Use HDRP Lit shader.
Decide the render pipeline at the start of the project, before art production scales. Switching pipelines mid-project means reworking materials and shaders across every asset.
Common pitfalls
- Wrong scale on import. Set scale in the DCC tool, not by changing Unity's scale factor at import time. Mismatched scale breaks physics and lighting.
- Triangulation surprises. Some game pipelines triangulate at export; others triangulate at import. Pick one and apply consistently.
- Material loss. Embedded materials in .fbx files do not always map cleanly to Unity shaders. Extract materials on import and rebind them to the right PBR shader for your render pipeline.
- Polygon count drift. Without a budget defined per asset class, polygon counts inflate during production. Set budgets early and check in profiling.
- Skipping retopology. Pulling the high-poly sculpt directly into Unity without retopo gives a high-quality look but tanks performance and breaks deformation.
About Game-Ace
Game-Ace is a custom game development and art studio operating since 2005 from Cyprus as part of Program-Ace. Among our services, we deliver Unity game development and 3D game art outsourcing, including hard-surface modeling, character modeling, animation, and asset optimization for Unity projects across mobile, PC, console, and VR. If you are commissioning Unity 3D art rather than producing it in-house, see Unity Game Development, 3D Game Art Outsourcing, or Hire Unity Developers. All engagements run under NDA, and the client owns approved source files and assets on acceptance.
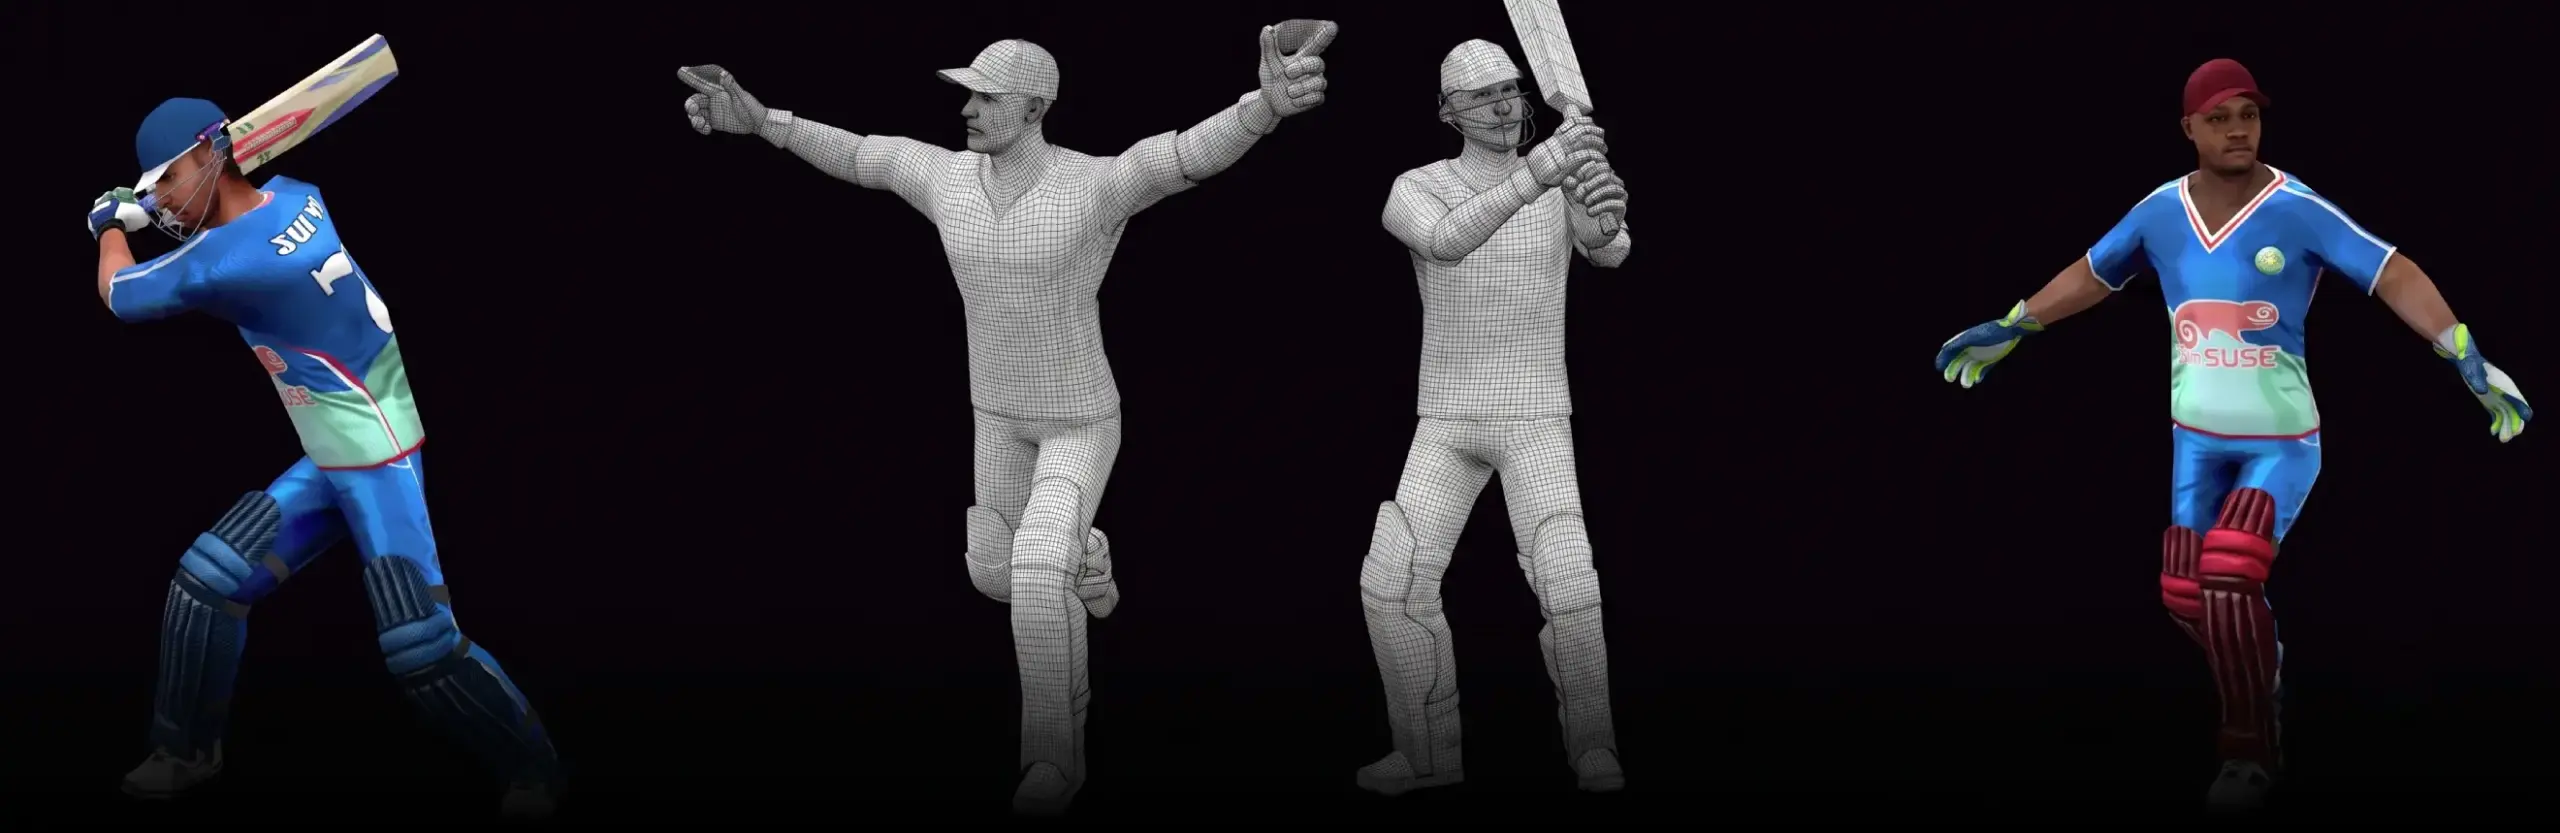
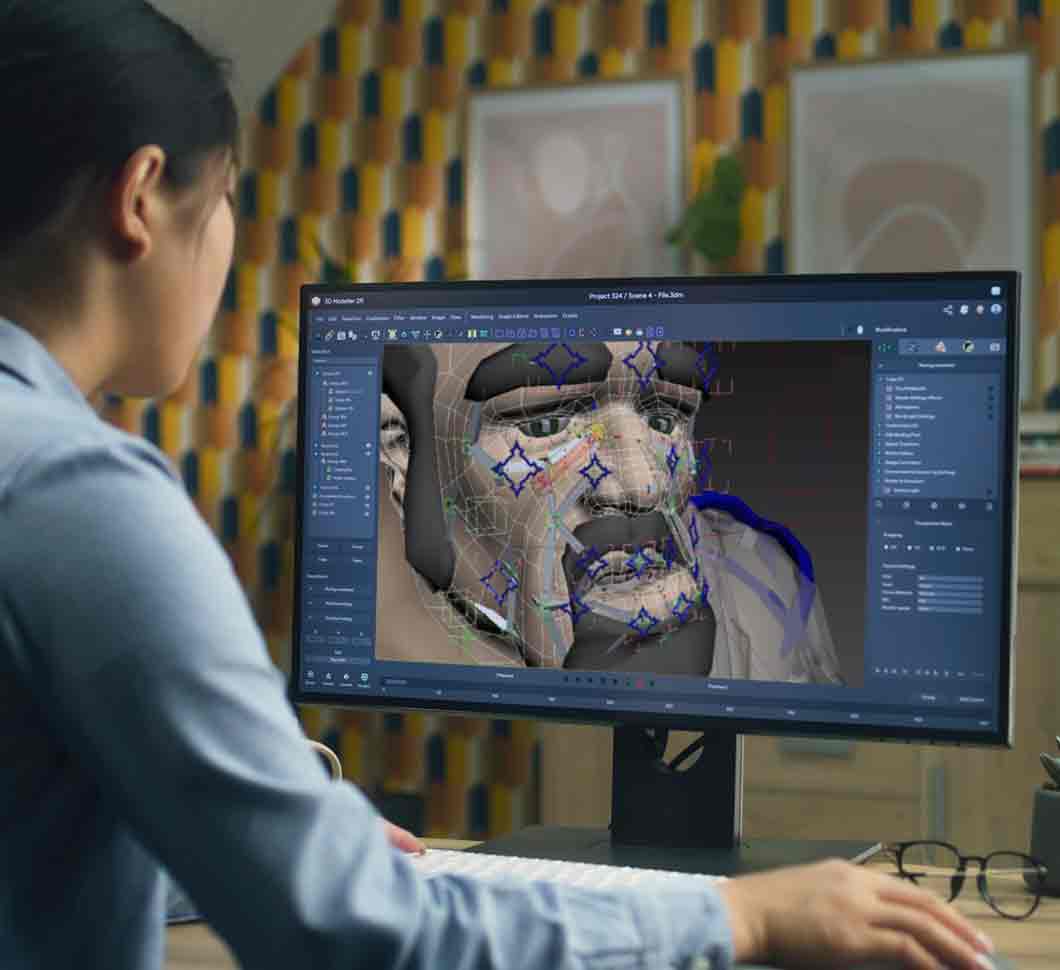 Character skinning for game-ready 3D animation
  Unity 6: Revolutionizing Game Development for the Next Generation
  The Best Ways to Use Procedural Generation in Games
  3D Modeling as the Cornerstone of Your Video Game