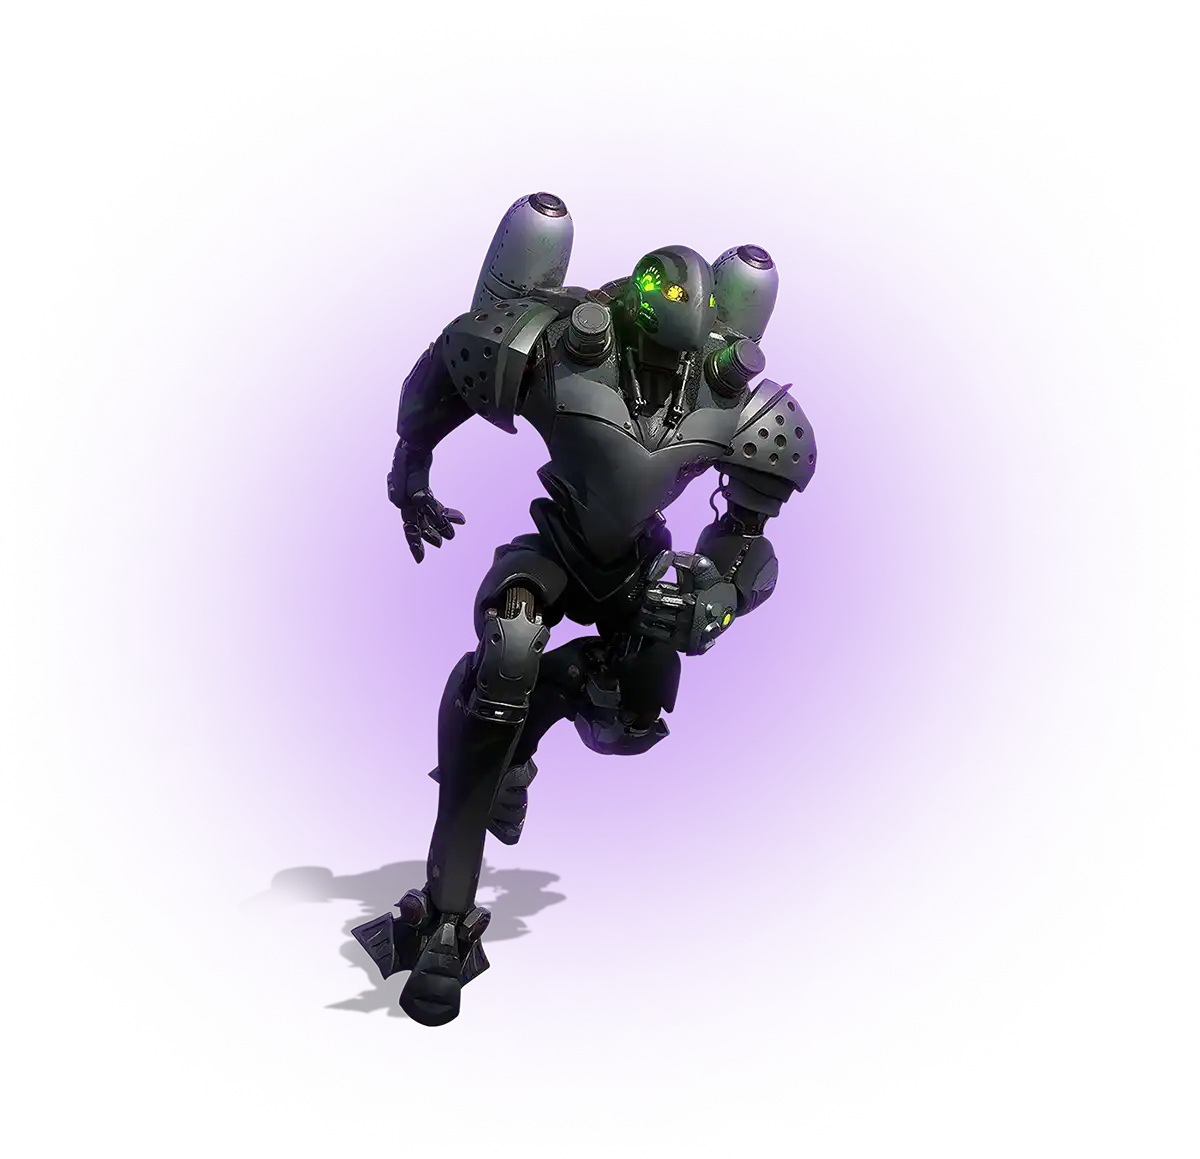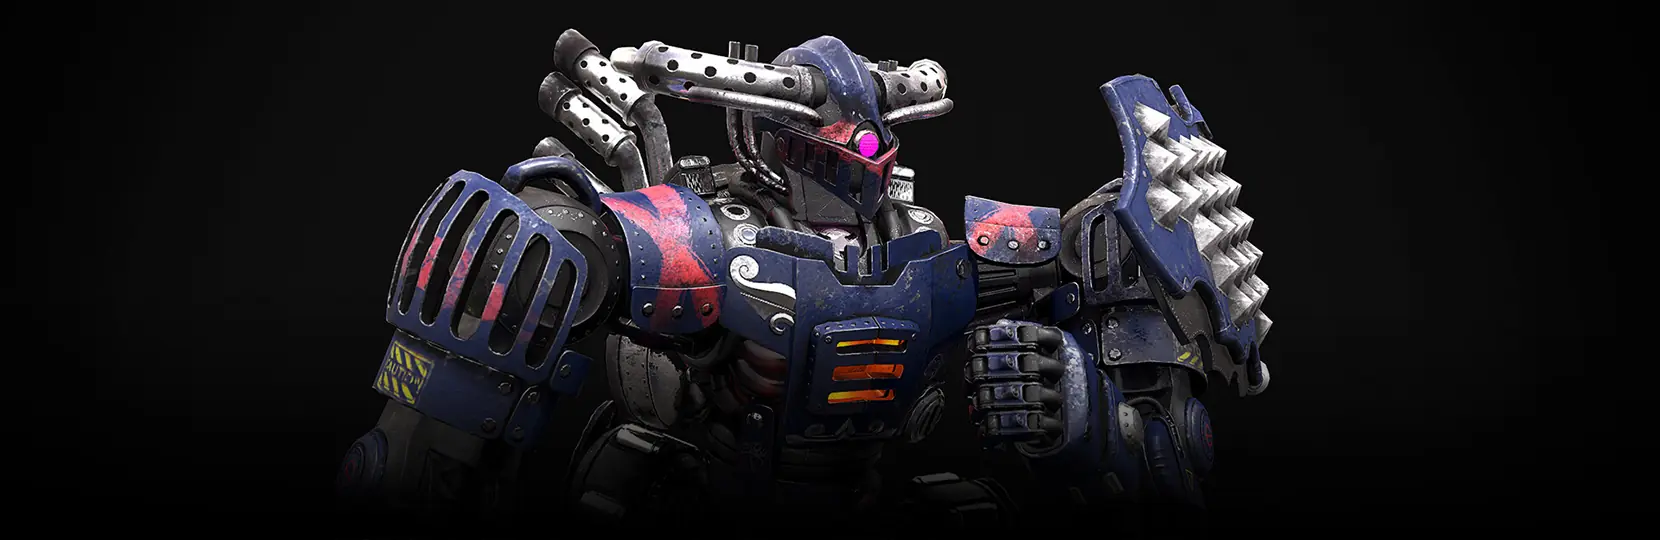

High-poly models are 3D assets built with dense polygon meshes, usually from hundreds of thousands to several million polygons, so that every crease, seam, and surface detail is captured in geometry rather than painted into a texture. In production, high-poly models are sculpted first, then baked down to a low-poly mesh for in-engine use. They are the source of truth for hero characters, weapons, vehicles, and close-up environment props.
What high-poly models actually mean in game production
In studio terms, a high-poly model is the sculpt or subdivided mesh from which normal, ambient occlusion, curvature, and cavity maps are baked. It is rarely rendered directly in real time. The mesh sits in ZBrush, Blender, or Maya at a density where every rivet, stitch, and pore is real geometry, and the game engine sees only the baked low-poly counterpart.
The number is context-dependent. A hero character sculpt can sit anywhere from 5 million to 40 million polygons across subtools. A hero weapon sculpt usually lands in the 500K to 3M range. A cinematic environment prop might sit at 1 to 5M. The threshold that makes an asset “high poly” is not a fixed count, it is the point where geometry carries the detail that a texture alone cannot describe.
Scoping a hero character, prop, or cinematic sculpt?
High-poly vs low-poly vs mid-poly: a working comparison
The three categories exist on a continuum, and studios usually work with all three within a single project. Low-poly is what ships to the engine. High-poly is the sculpt that donates its detail via baking. Mid-poly sits between the two, and it is common for stylised titles, mobile, and web builds where retopology of a full sculpt is not justified.
| Attribute | Low-poly | Mid-poly | High-poly |
|---|---|---|---|
| Polycount (character) | 1K-15K | 15K-80K | 500K-40M+ |
| Use case | In-engine gameplay, mobile, web | Stylised console, close-up gameplay | Sculpt source, cinematics, marketing renders |
| Primary tools | Maya, Blender, 3ds Max | Maya, Blender, Modo | ZBrush by Maxon, Blender sculpt |
| Output | Game-ready mesh + baked maps | Optimised mesh, sometimes hand-authored normals | Sculpt donates normal, AO, curvature, cavity maps |
| Target platform | Mobile, web, low-end PC | Mid PC, console, stylised titles | PC, console cinematics, hero close-ups |
For a broader look at the counterpoint side of the pipeline, see the walk-through in low-poly models.
Types of high-poly assets a game project usually needs
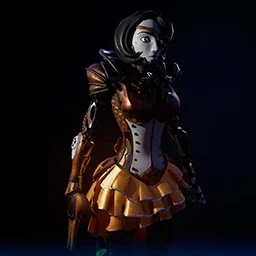
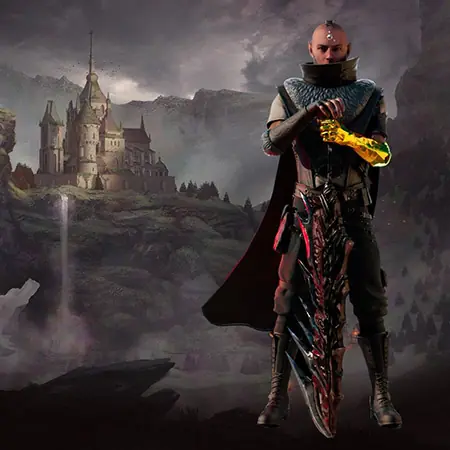
Character
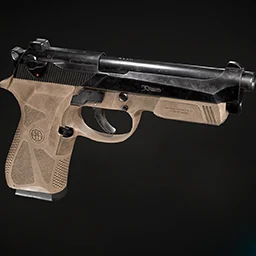
Weapon
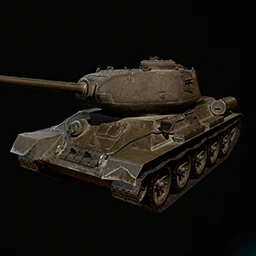
Vehicle
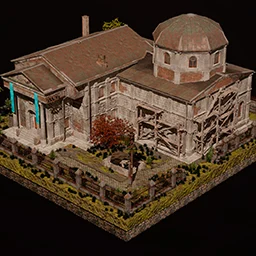
Building
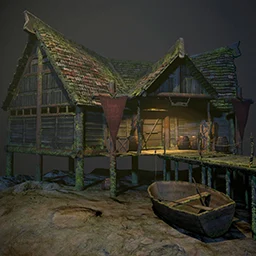
Environment
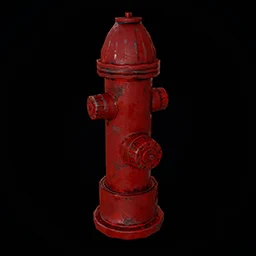
Props
Not every asset in a game deserves a high-poly sculpt. The rule of thumb: sculpt what the camera lingers on. That means hero characters, hero weapons, mount and vehicle exteriors, key environment set pieces, cinematic props, and anything used in marketing shots or intro cutscenes.
- Hero characters and creatures where camera distance drops below one metre.
- Weapons and gear that appear in first-person view or inspection screens.
- Vehicles and mounts shown in garage, showroom, or cinematic angles.
- Environment hero props: statues, altars, machines, plot-relevant objects.
- Modular kit pieces where wear, damage, or fabric folds must read cleanly.
- Any asset destined for pre-rendered cinematics or high-resolution marketing renders.
Background props, filler foliage, and distant architecture usually stay mid-poly or low-poly. The sculpt budget is a real budget, and it is spent where the player looks. See game art and design for how Game-Ace scopes this decision at brief stage.
How the high-poly pipeline actually works, step by step
A production high-poly workflow follows a fairly stable path across most studios. The exact tool mix varies. The sequence rarely does.
Step one is blockout. The artist works in Maya, Blender, or ZBrush at low geometry to lock silhouette, proportions, and readability. Step two is high-poly sculpt in ZBrush by Maxon or Blender sculpt mode, where subdivision surface, dynamic topology, and alpha brushes carry surface detail. Hard-surface assets often use a mix of SubD modelling in Maya plus ZBrush polish for micro-detail.
Step three is retopology. The high-poly sculpt is manually or semi-automatically retopologised into a clean, animation-ready low-poly mesh with proper edge flow. Step four is UV unwrap on the low-poly. Step five is baking: the high-poly sculpt donates its detail to a set of texture maps (normal, ambient occlusion, curvature, cavity, ID) via a baker such as Marmoset Toolbag or Substance 3D Painter. Step six is texturing. Step seven is engine integration and material calibration.
Retopology and baking are where most production bugs originate: skewed normals, seam breaks, cage misalignment, floating geometry. A tight sculpt with clean edge groups saves hours in the bake pass. For a deeper walkthrough of asset creation in-engine, see Unreal Engine 3D modeling, a step-by-step guide.
High-poly work by Game-Ace
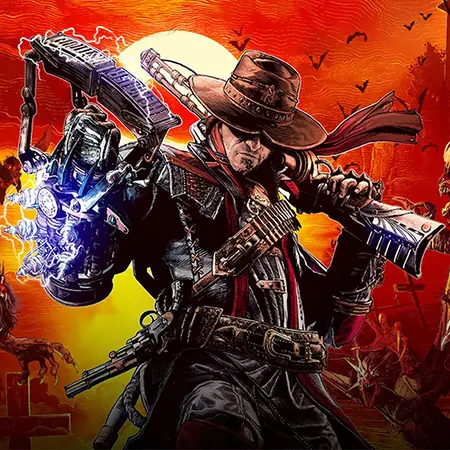
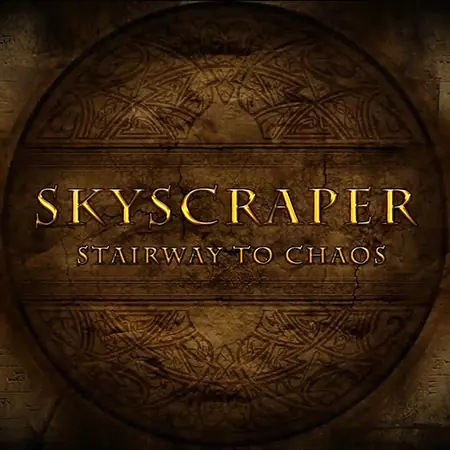
Welcome to Skyscraper, an Unreal Engine high-poly prop pipeline by Game-Ace
Skyscraper is a third-person horror shooter where high-poly 3D models of props and enemies were sculpted, then turned into levels inside Unreal Engine. Game-Ace’s 3D art team ran the sculpt-to-engine pipeline to keep close-camera detail sharp while holding the prototype’s performance budget on PC.
Can high-poly meshes be used directly, or is retopology mandatory?
For real-time gameplay, retopology is not optional. Engines have finite draw calls and vertex budgets, and skinning a multi-million-polygon mesh to a rig is not practical. The high-poly sculpt lives on disk as a source asset. The mesh that reaches the player is always a retopologised low-poly or mid-poly version, with baked maps carrying the fidelity.
The exception is offline rendering. Cinematics, pre-rendered trailers, key art, and marketing renders can pull the sculpt directly. Some real-time engines with virtualised geometry can push closer to the sculpt, but production still keeps a retopologised game mesh for animation, LODs, and streaming budgets.
What a high-poly asset actually costs to produce
Cost tracks scope. A single stylised hero character with full sculpt, retopology, UVs, baked maps, and PBR texture pass usually falls in the range of €4,500 to €12,000 for outsourced production, depending on realism, silhouette complexity, and gear count. Hero weapons and props usually sit in the €800 to €3,500 range. A cinematic environment set piece can start at €3,000 and scale up sharply with detail density.
Iteration count and reference quality drive most of the variance. A tight art bible, clear silhouette approval before sculpting, and locked reference sheets keep the sculpt phase from rebounding. Studios that skip early silhouette review pay for it later, usually twice. See 3D game art outsourcing and hire 3D artists for engagement models, or hire character designers for hero-character-specific scope.
Scoping high-poly work
If you are planning a project with hero characters, close-camera assets, or cinematic set pieces, talk to Game-Ace.
 3D and AI avatars in casino: how they boost acquisition, retention, and time-on-device
 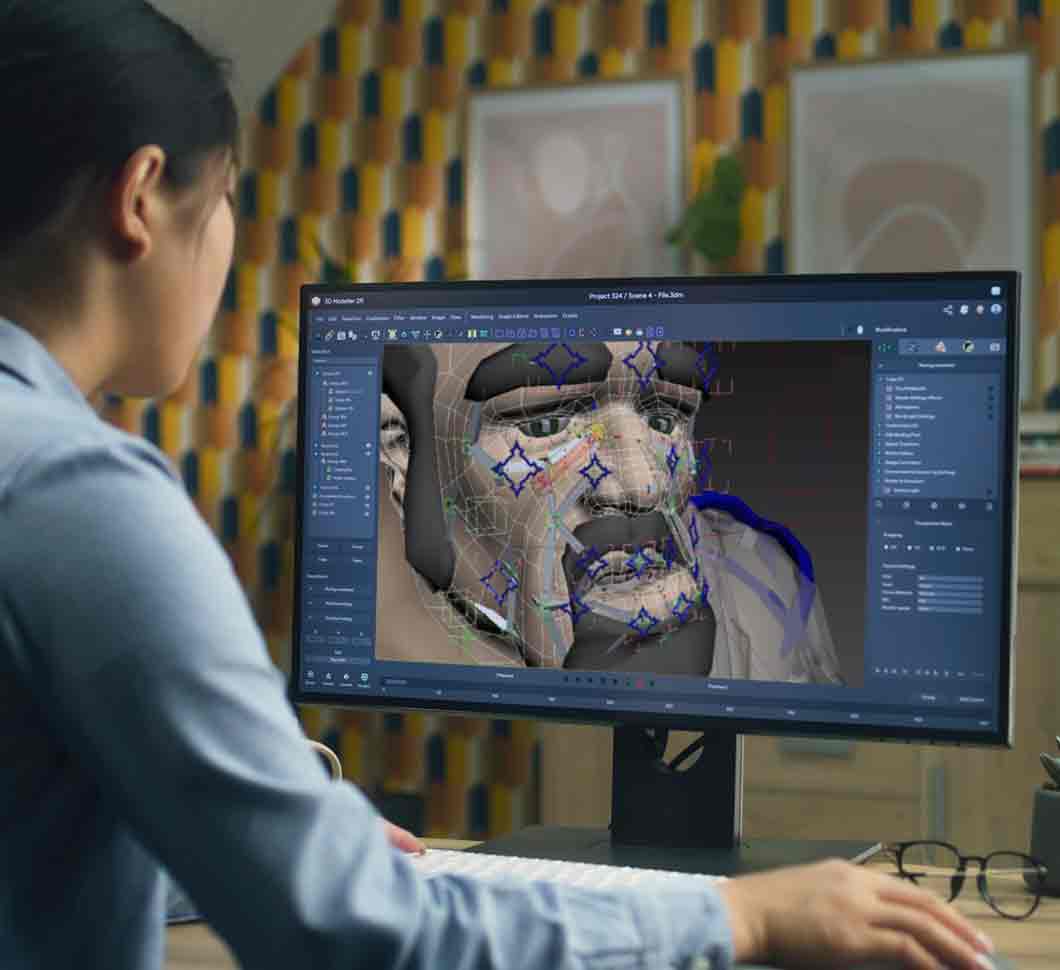 Character skinning for game-ready 3D animation
 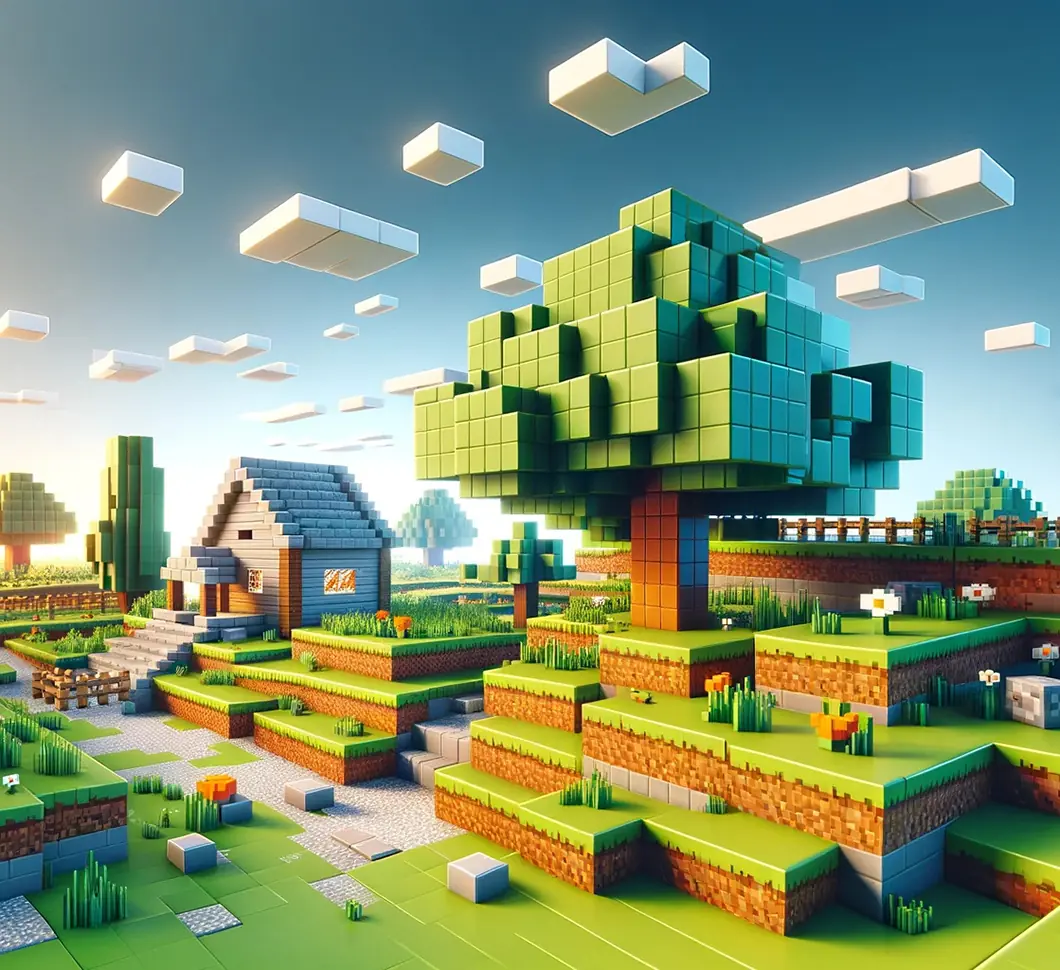 Procedural generation in games: what actually works in production
 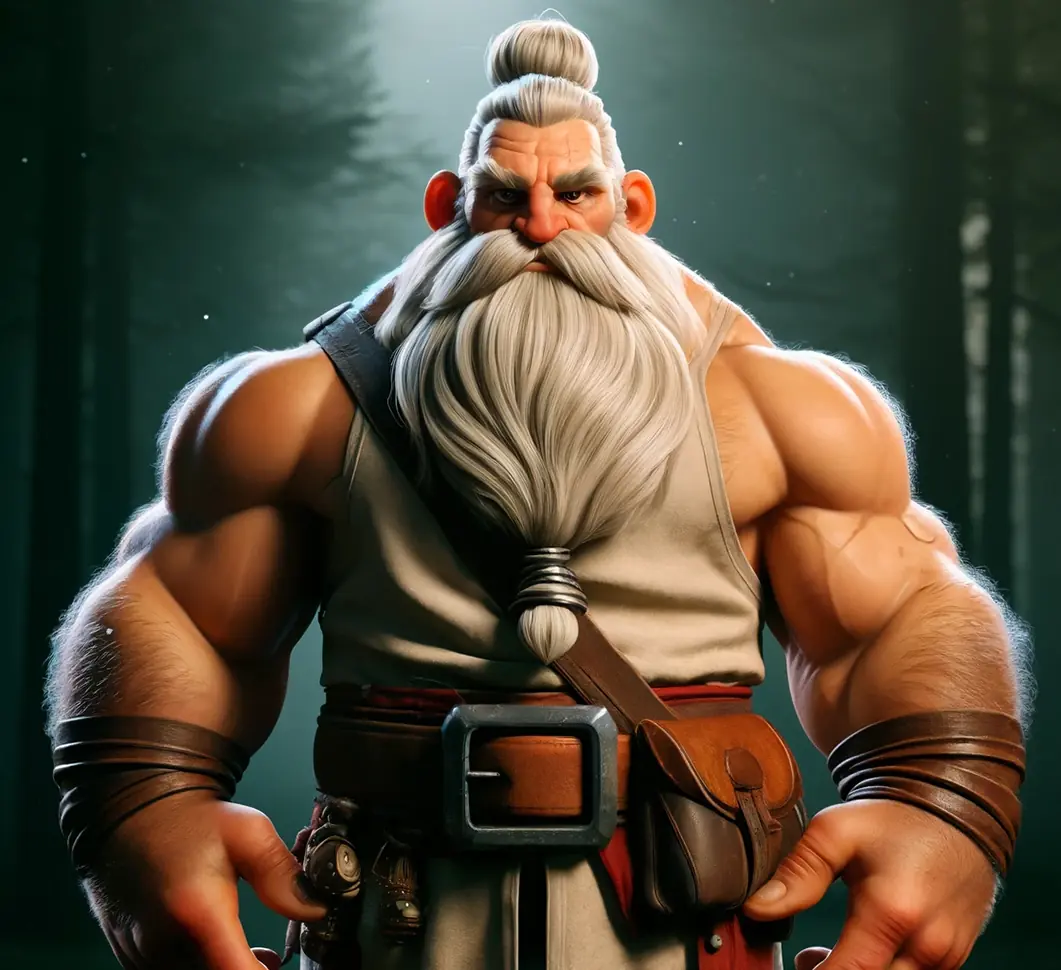 3D modeling for video games: a production overview
 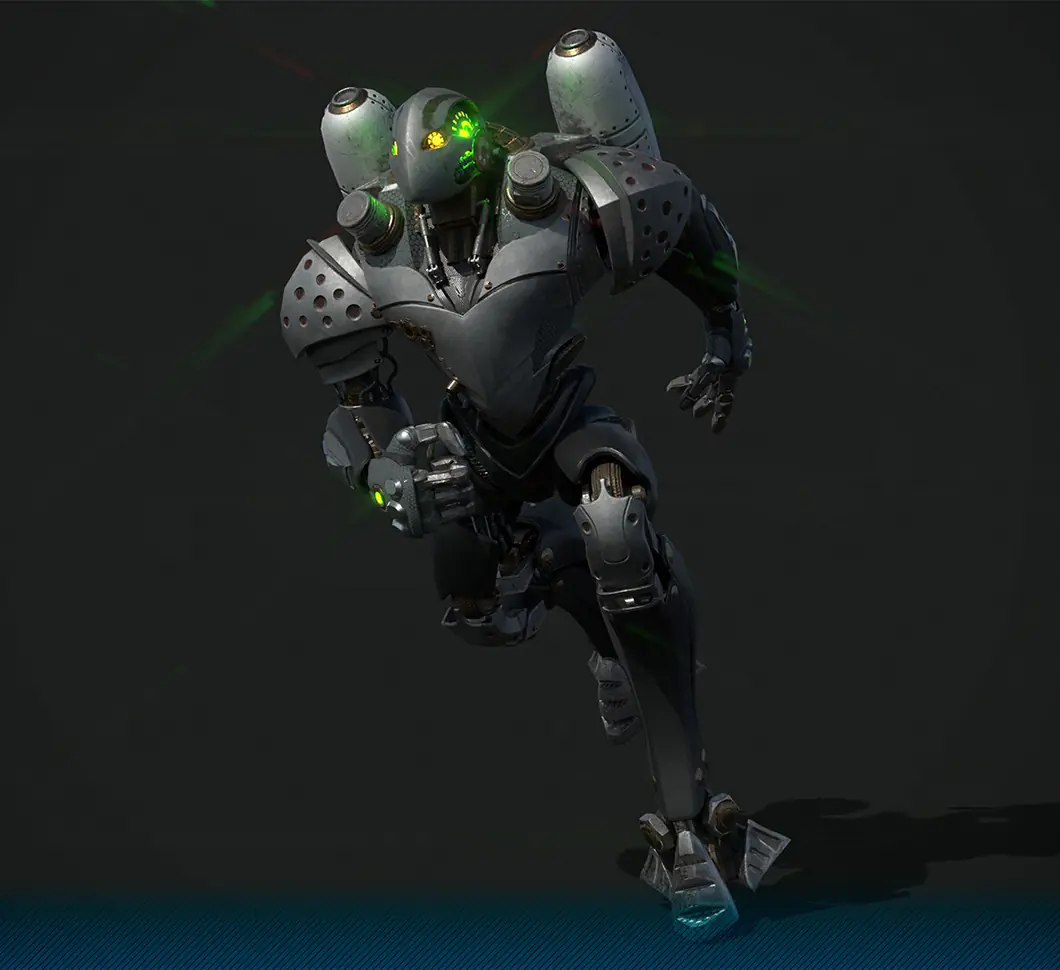 3D character modeling for game production