
Unreal Engine 3D modeling covers two practical paths today: building assets inside Unreal Engine using the built-in Modeling Mode, or authoring them in an external DCC tool like Maya, Blender, or 3ds Max and importing through FBX. Most production teams still rely on an external DCC for hero assets and use Modeling Mode for blockouts, prop tweaks, and level dressing. The choice depends on the project scope, the asset type, and the team's existing pipeline.
How studios approach the Unreal Engine 3D modeling pipeline
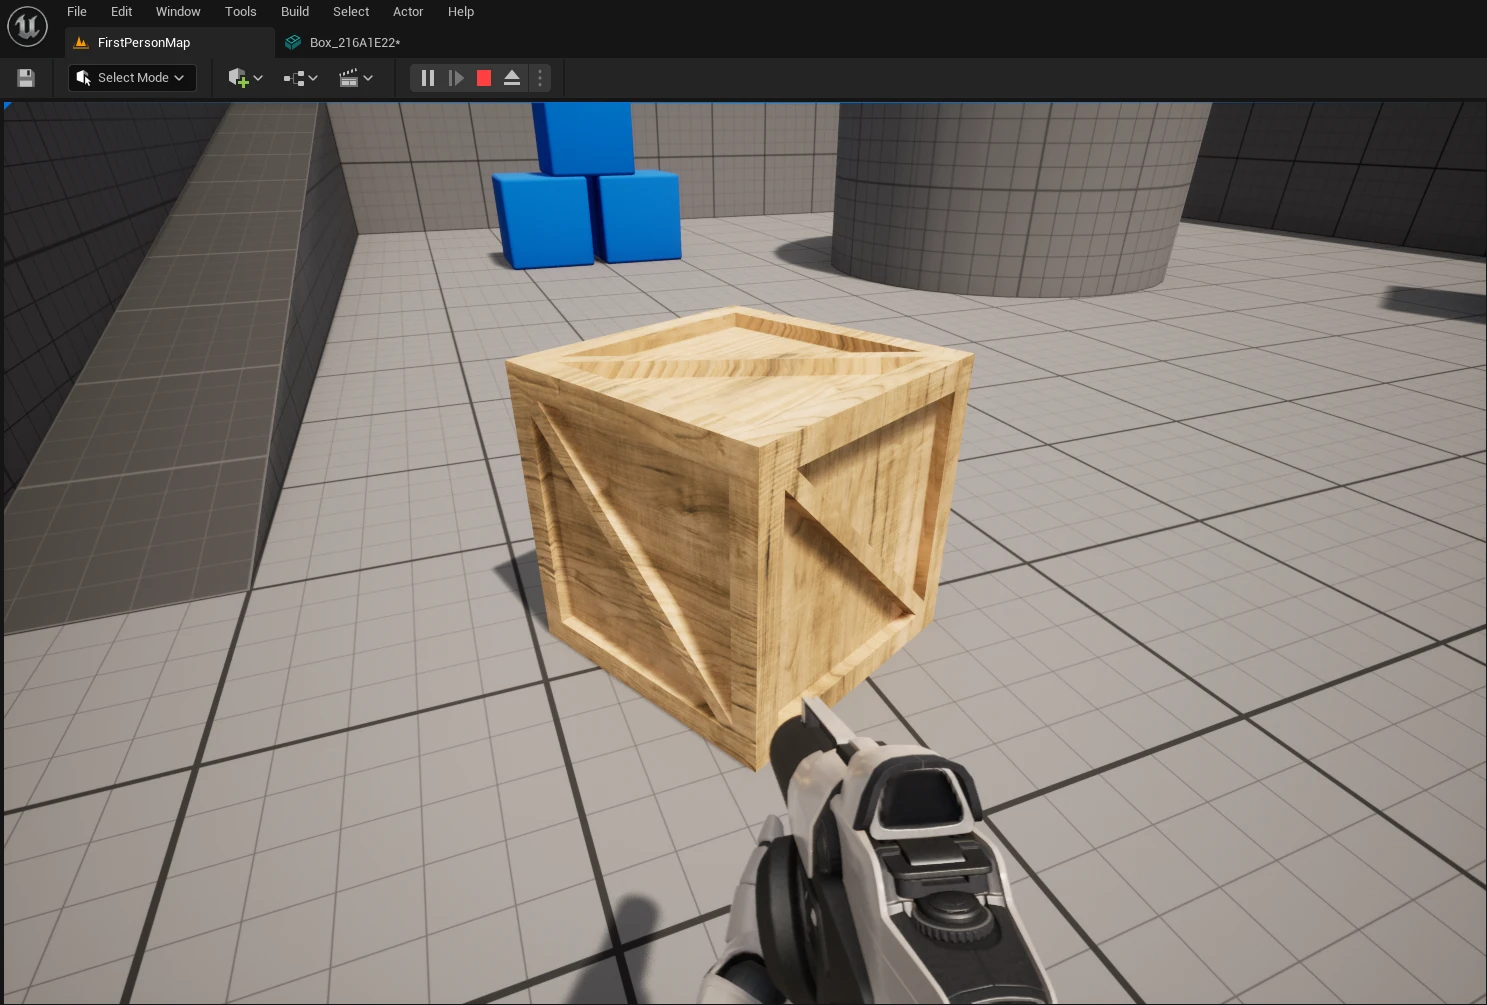
A working Unreal Engine 3D modeling pipeline is a sequence, not a single tool. Modeling, retopology, UV mapping, baking, texturing, skinning, and engine setup run in a defined order, with handover points between the DCC tool and the engine. The order rarely changes between projects. What changes is which steps are owned in-house, which are outsourced, and which are handled inside Unreal itself using Modeling Mode for fast iteration.
Most studios still treat external DCC tools as the primary authoring environment. Engine-side modeling is used for blockouts, prop adjustments, and level dressing where round-tripping back to a DCC would slow production.
When a project starts, the team usually fixes three rules before any asset is built.
- Engine version (currently UE 5.6 or UE 5.5 for most studios, still UE 4.27 for some long-running titles).
- Source DCC and naming convention.
- Polycount and texture budgets per asset class.
Which 3D modeling software fits Unreal Engine production
The DCC choice for Unreal Engine 3D modeling depends on the asset type, team skill, and license budget. Maya and Blender dominate character and animation work. 3ds Max remains common in arch-viz and environment art. ZBrush handles high-poly sculpting. Houdini is reserved for procedural environment work and VFX. The table below summarizes how studios pick between them for UE pipelines.
| Tool | License | Best for in UE pipelines | Direct UE integration |
| Blender | Free, GPL | Indie/mid-budget studios, full pipeline, hard-surface and characters | FBX export, Send to Unreal add-on |
| Maya | Commercial | Character rigging, animation, hero assets | FBX, Maya LiveLink |
| 3ds Max | Commercial | Environment art, arch-viz, hard-surface props | FBX, Datasmith |
| ZBrush | Commercial | High-poly sculpting, organic detail, normal map source | Decimation Master + FBX |
| Houdini | Commercial / Apprentice | Procedural environments, VFX, terrain | FBX, Houdini Engine for Unreal |
| UE Modeling Mode | Built into UE | Blockouts, prop edits, level dressing inside the engine | Native |
For most production teams, the practical answer is a primary DCC plus Modeling Mode for in-engine adjustments. See the official Epic Games documentation on Modeling Mode in Unreal Engine for the current toolset.
Authoring assets in an external DCC tool
External DCC authoring follows the same stages regardless of the tool. The artist starts with primitive shapes or a sculpt, blocks out the silhouette, refines geometry, retopologizes if the source is high-poly, lays out UVs, bakes maps, and exports through FBX into Unreal. Each stage has its own quality gate. Skipping retopology on a 10M-poly sculpt, for example, results in unmanageable skinning later.
Blender is the most common open-source option for studios building a pipeline from scratch. The Blender Foundation maintains the toolset under an open license, which removes seat-cost risk for distributed teams.
Modeling and retopology
Modeling itself splits into a handful of techniques that every artist mixes depending on the asset:
- Primitive modeling, start from cubes, spheres, cones, and shape through extrude, split, merge, bevel.
- Curve modeling, control surfaces with weighted points, useful for smooth organic shapes.
- Polygon modeling, place individual polygons via Create Polygon or Quad Draw.
- Digital sculpting, push, smooth, grab, and pinch as if working in clay (ZBrush, Blender, Mudbox).
- NURBS-to-polygon conversion, convert mathematical surfaces into editable polygon meshes.
Retopology turns a dense sculpt into an animation-friendly low-poly mesh. In Maya, Quad Draw inside the Modeling Toolkit is the standard tool; in Blender, the equivalent is Retopoflow or manual snap-to-surface. The low-poly mesh inherits surface detail from the high-poly source through normal, ambient occlusion, and curvature bakes.
UV mapping
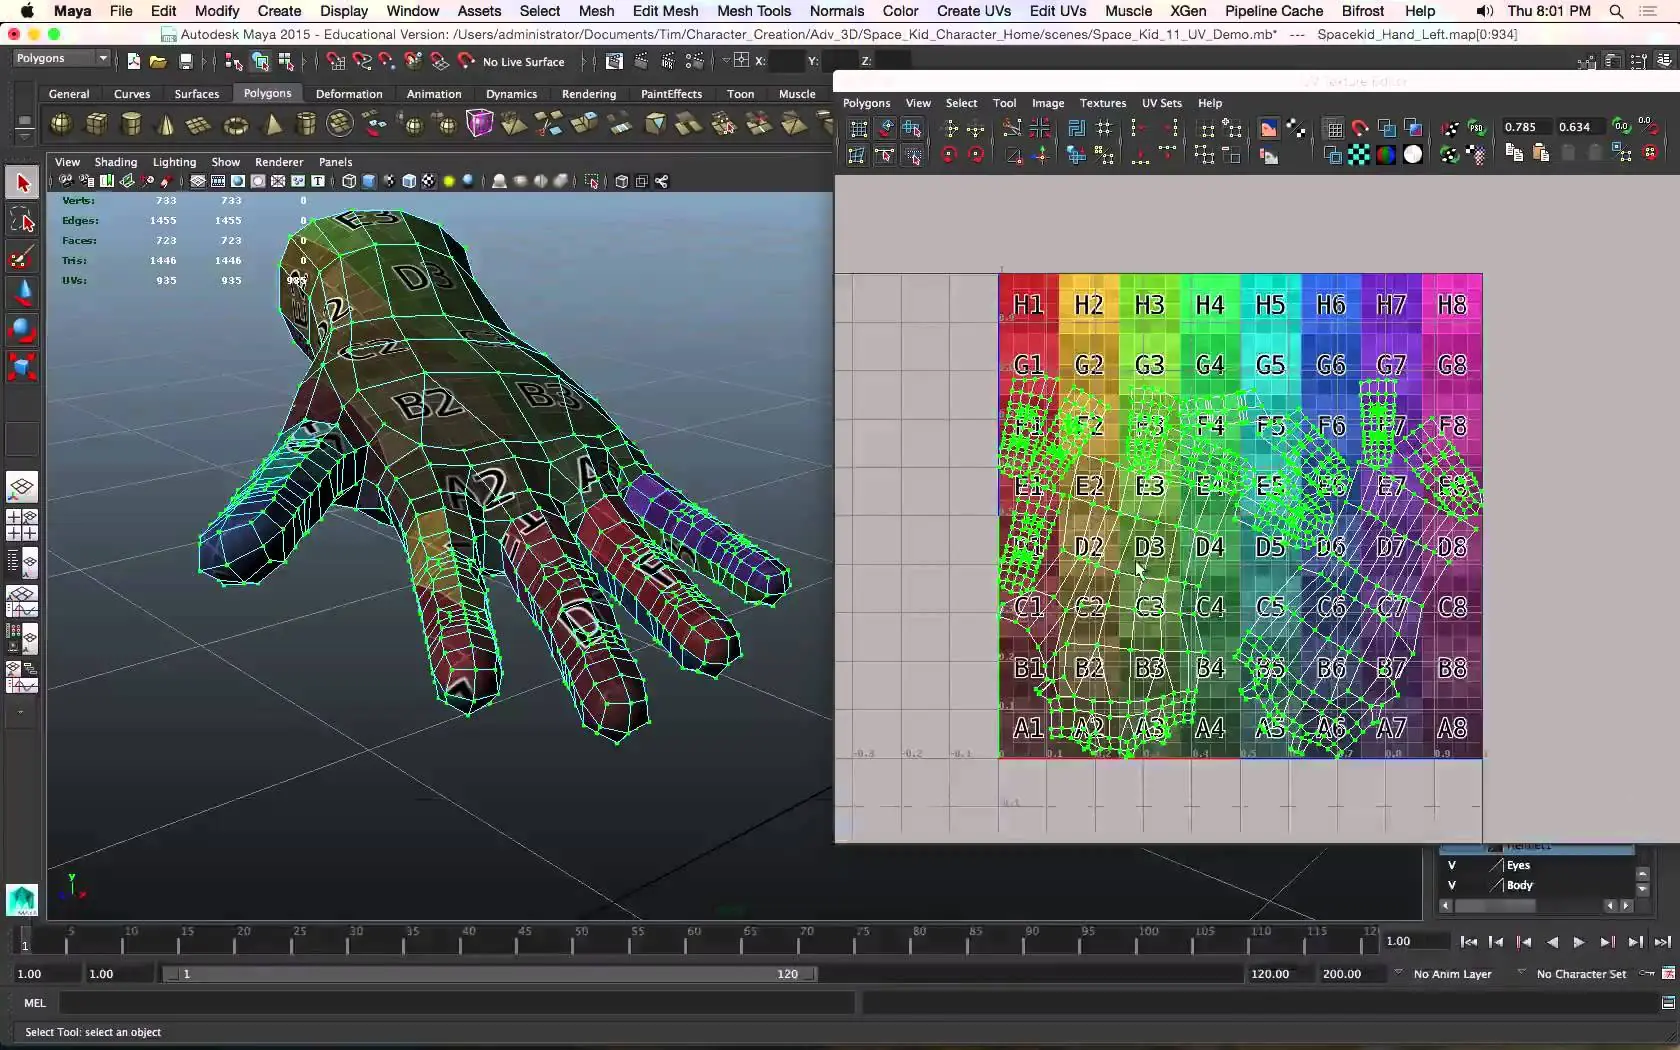
UV mapping unwraps the 3D mesh into a 2D layout so textures can be applied. The artist usually combines several projection methods on the same asset:
- Automatic, best for irregular shapes with no clear axis.
- Planar, flat or single-angle objects; can stretch when overused.
- Cylindrical, wrapping around tubular geometry.
- Spherical, sphere-based shapes.
- Camera projection, applying a photographed image at a fixed angle.
Consistent texel density across an asset matters more than any single projection method. Texel density is what makes a hero asset and a background prop read at the same visual quality inside Unreal Engine.
Rigging and skinning
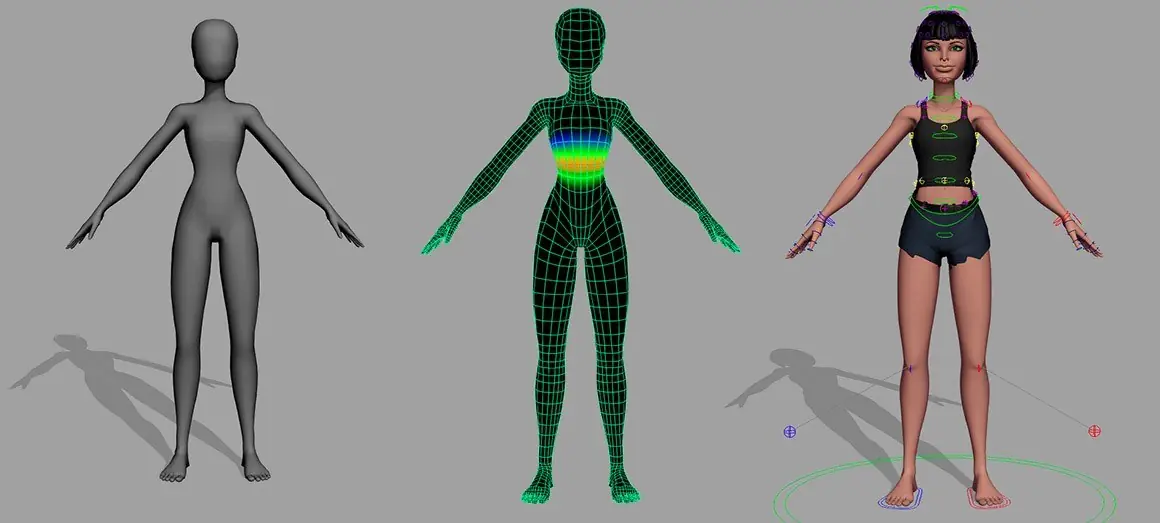
Rigging adds the skeleton that drives animation. The artist places joints by hierarchy (root, spine, limbs, fingers), then weights vertices so the mesh deforms naturally. In Maya, Smooth Bind handles the first pass; the artist then refines weights manually. Heat Map binding is a useful starting point for organic characters. Detailed weight cleanup is the slow part of the job.
For an in-depth view of character pipelines, see 3D character modeling and character rigging for video games.
Modeling mode and Nanite: 3D modeling inside Unreal Engine 5
Modeling Mode is the built-in toolset for editing or building meshes directly inside Unreal Engine 5. It is not a full Maya or Blender replacement. It is a fast way to fix or adjust geometry without round-tripping to a DCC.
Typical Modeling Mode use cases on a production team:
- Blockout passes for level design before final art replaces them.
- Prop tweaks (cutting holes, beveling edges, adjusting silhouette).
- Boolean operations for hard-surface combinations.
- PolyEd, TriEd, and Remesh for quick geometry cleanup.
- UV editing for minor seam adjustments without exporting.
Nanite changes the math behind asset budgets. Before Nanite, an artist authored a low-poly mesh plus LOD chain so the engine could swap mesh density at distance. Nanite virtualizes geometry, allowing source assets at film-quality polycounts to render efficiently. In practice, character meshes still follow traditional polycount budgets because Nanite does not yet support skeletal meshes in every production configuration. Static environment meshes are where Nanite changes pipeline assumptions most.
Recent UE 5.x releases (5.5 and 5.6) expanded Nanite support and tightened Modeling Mode workflows. Teams running UE 4.27 stick with traditional LOD authoring because Nanite is UE5-only.
Realistic polycount budgets for Unreal Engine 3D modeling
Polycount budgets in Unreal Engine 3D modeling depend on platform, asset class, and whether Nanite is enabled for static meshes. The numbers below reflect common practice on cross-platform production, not hard rules.
- Hero character (cinematic, console / desktop, non-Nanite skeletal): 80,000–150,000 tris.
- Mid-range character (gameplay-facing, console / desktop): 30,000–60,000 tris.
- Mobile character (UE for mobile): 8,000–25,000 tris.
- Hero environment prop (Nanite-enabled static): source mesh can run into millions of tris; budget shifts to texture and instancing.
- Background props (non-Nanite): 500–5,000 tris.
- Foliage card / billboard: 50–500 tris per instance.
Texture budgets matter as much as polycount. A 4K base color, normal, and ORM (occlusion-roughness-metallic) set per hero asset is standard; mobile drops to 1K or 2K with channel-packed maps. Channel-packing saves VRAM and reduces sampler count in shaders.
Exporting and importing assets into Unreal
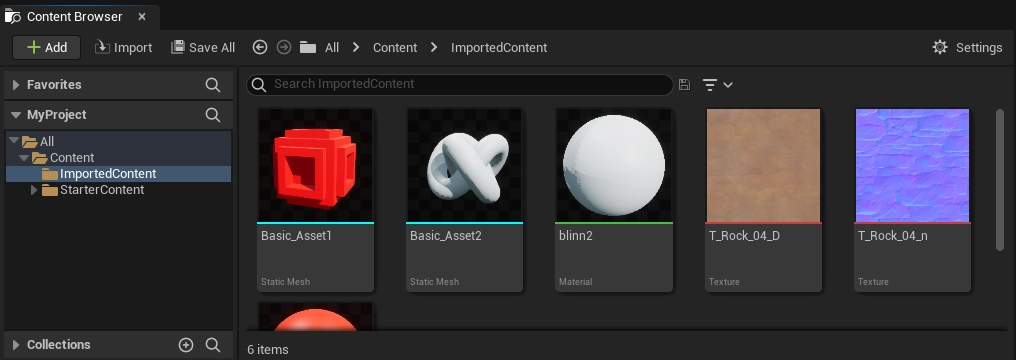
FBX is the recommended interchange format for both static and skeletal meshes going into Unreal Engine. The artist exports from the DCC with applied scale and forward axis matched to UE (Z-up, X-forward in source DCC settings, with FBX export configured for UE). USD is gaining ground for environment-heavy pipelines but is still less common than FBX in shipped projects.
Inside Unreal, the import dialog has a few choices that matter:
- Skeleton, create new or reuse an existing skeleton to share animations.
- Generate LODs, leave off for Nanite static meshes; configure manually for skeletal meshes.
- Generate Lightmap UVs, useful for non-Nanite static meshes with baked lighting.
- Import Materials and Textures, usually off; materials are authored inside UE Material Editor.
- Combine Meshes, useful for environment kit pieces.
Naming conventions help downstream work. SM_ for static mesh, SK_ for skeletal mesh, T_ for textures, M_ for materials, MI_ for material instances. A consistent prefix scheme is what makes a 200-asset import session manageable.
Production example from a Game-Ace Unreal Engine project
The Game-Ace UE project below illustrates how 3D modeling decisions show up in production:
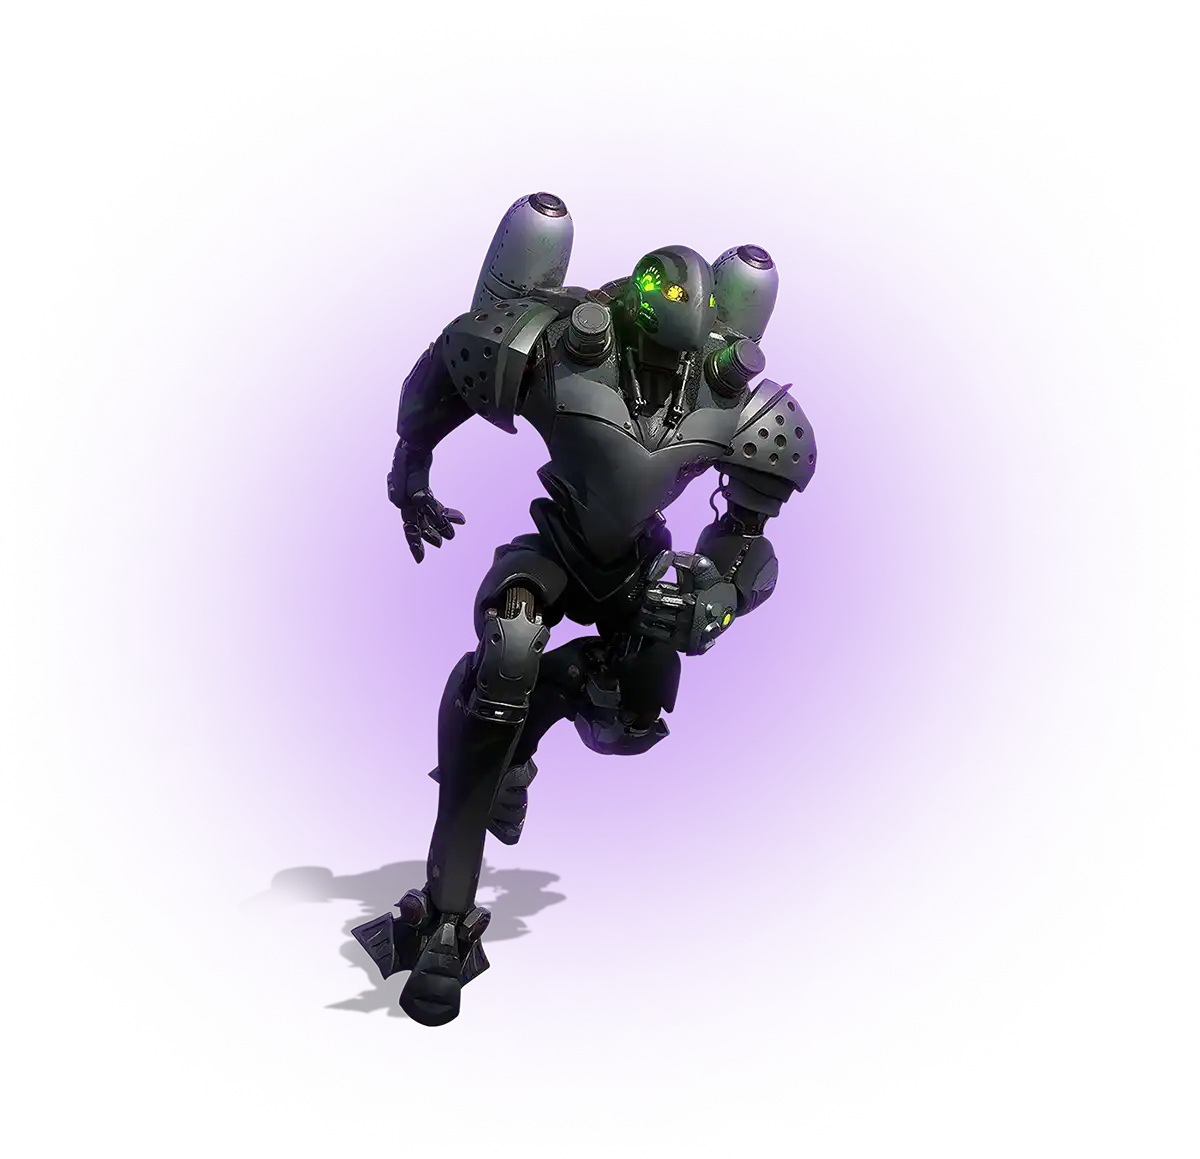
Welcome to Skyscraper, a third-person action title built in Unreal Engine by Game-Ace
Skyscraper is a third-person action prototype with cinematic combat and dynamic level destruction in Unreal Engine. Game-Ace handled character modeling, environment art, animation, and gameplay scripting. Maya, ZBrush, and Substance supported rigging, sculpting, and texturing before UE import.
Working with Game-Ace on Unreal Engine 3D modeling
If you are scoping a 3D modeling pipeline for Unreal, a hero asset pack, or co-development on UE-based art production with your in-house team, talk to Game-Ace.
 3D and AI avatars in casino: how they boost acquisition, retention, and time-on-device
  Unreal Engine 5.6 cinematics: a production guide
 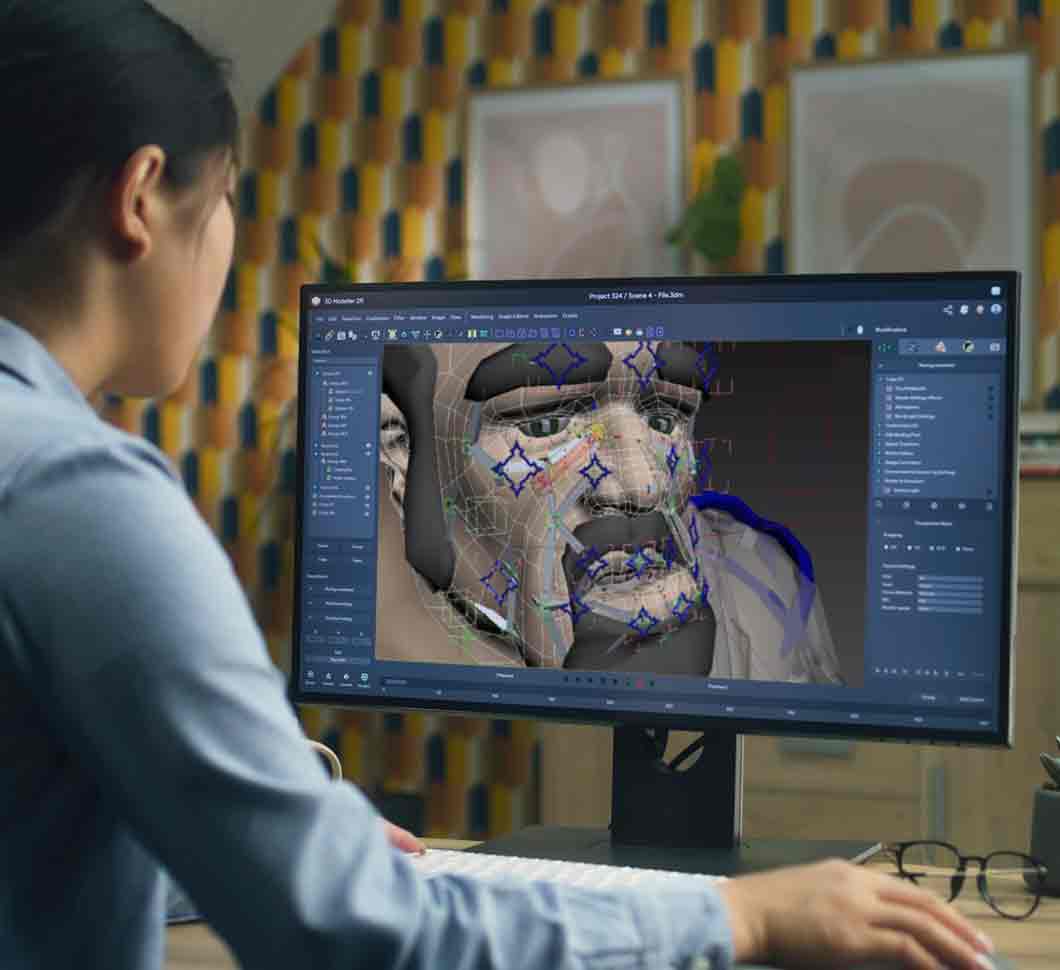 Character skinning for game-ready 3D animation
  Procedural generation in games: what actually works in production
  How to build an endless runner game in Unreal Engine